This guide is undergoing a significant update for 2020, and the below information is going to change until this message goes away. To see the 2020 updates for the guide, I recommend you go to the first page and continue from there, or alternately visit my Morrowind index which lists which guide steps are 2020-ready.
Continued from Part 10, or start at the beginning.
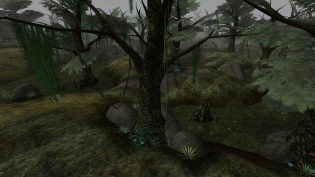
In this part of the guide we will explore detailed texture replacers and fine-tune our graphical updates. We’re going to start with large parts of the outdoors, nature, and buildings, and work our way down to smaller elements.
Note that a few screenshots in this entry include addons that we haven’t gotten to in the guide yet. This is because I installed things in a different order while trying to figure out the best and easiest way to do it. Don’t worry if a couple of random objects in your game don’t quite match up yet, and also consider it a slight preview of the future as well!
Specific Texture Replacers
Now it’s time to turn our attention to things on an individual level. This is where we move past the stopgap of Mixed Textures and make more careful choices. You must absolutely back up your Data Files now! Also, as we get closer and closer to completion, there are more and more files that will try to overwrite that you shouldn’t allow. When copying over a smaller folder with only, say, 10 items in it, it’s no problem to just allow or deny overwrites for specific files one by one, but when installing larger numbers of files you may wish to go into the folders first and simply remove the ones we aren’t allowing to overwrite, so you can just check the box to “allow all.” It’s up to you. Just be sure to read through my instructions beforehand to avoid mistakes (I know that’s why you’re here, but hey, it may need to be said).
Architecture
Morrowind’s numerous building styles are usually addressed separately by different modders. There may be some overlap with similar styles, but it will often be a single texture that just happens to be used in multiple places. I’ve built the install order pretty cleanly to make sure any conflicts are taken care of.
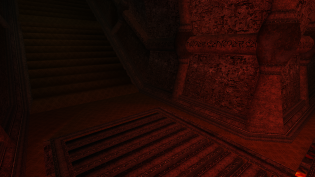
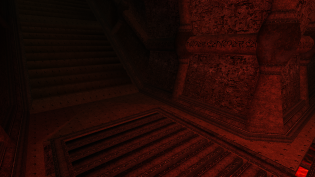
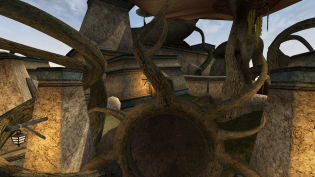
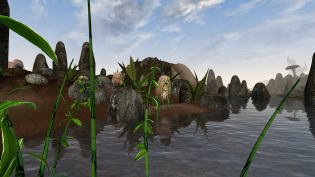
Dwemer Ruins
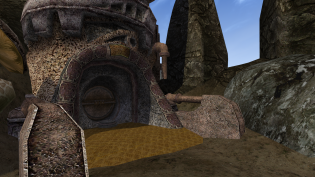
Download Darknut’s Dwemer Ruin Textures and install its main Textures folder allowing all overwrites, and then install the single texture in the “Z-Alt” folder. Now, if you want to be really nitpicky, download Westly’s Dwemer Texture Replacer as well, but only install the following files:
- tx_dwrv_lens00.dds
- tx_dwrv_oilslick00.dds
- tx_dwrv_parch00.dds
- tx_dwrv_parch10.dds
- tx_dwrv_parch20.dds
- tx_dwrv_parch30.dds
- tx_dwrv_parch40.dds
- tx_dwrv_parch50.dds
Here’s a sample of the results (ignore the grass textures, we’re doing those later):

You might consider also using the file tx_dwrv_floor00.dds from Westly’s replacer as well, if Darknut’s floor looks too rough for your tastes. Westly’s floor contrasts a bit color-wise, but I personally feel (at the moment, anyway) that it looks more like a floor texture and less like riveted metal which seems to me more like an under-floor that would originally have been covered. However, it’s believable that the ruins did in fact have another floor covering that has decayed over time, and Westly’s does depart from the original look. Keep Darknut’s to stay closer to that, but do keep in mind that it is possible in many cases to switch out individual textures this way in order to achieve the look you prefer.
-
- Westly’s floor, outdoors.
-
- Westly’s floor, outdoors (on the bridge).
-
- Westly’s floor, indoors. Inside the ruins, the contrast of the color is often impossible to see.
-
- Darknut’s floor, indoors.
-
- Westly’s floor, indoors.
-
- Darknut’s floor, indoors.
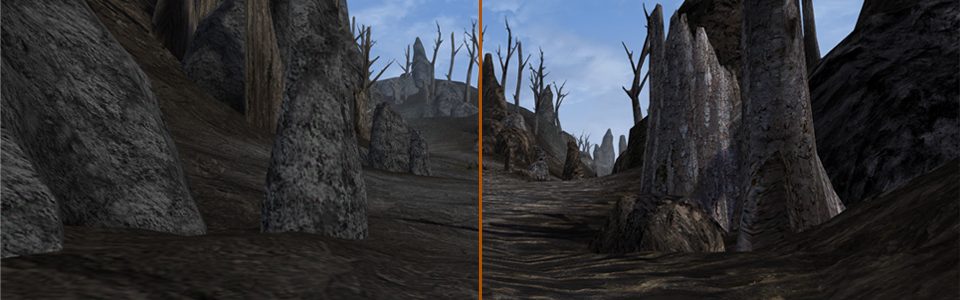
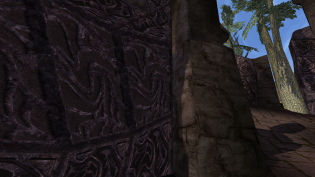
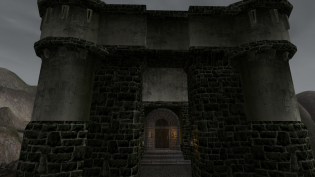
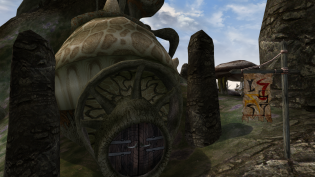
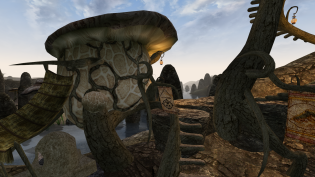
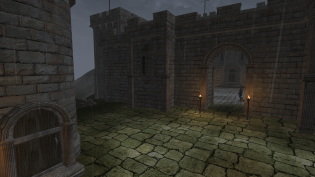
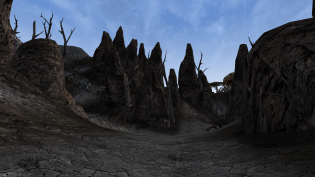
Daedric Ruins
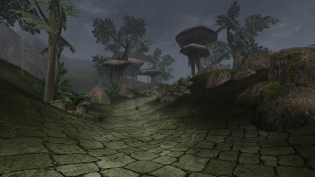
For Daedric ruins, first install Daedric Ruins Retexture by Bloodinfested and then Daedric Ruins – Arkitektora of Vvardenfell by Tyddy (allow overwrites both times). We’ll be using a lot of Tyddy’s textures, and you may notice he has a patch for bump maps by Lougian. We’re not using those yet, but you have the option of revisiting them at a later point. A sample of our results:
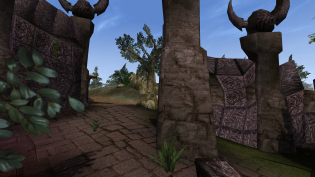
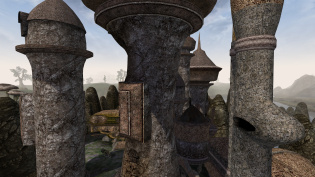
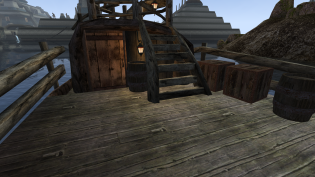
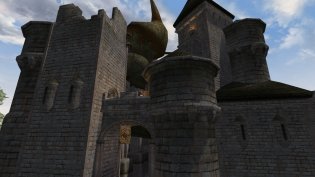
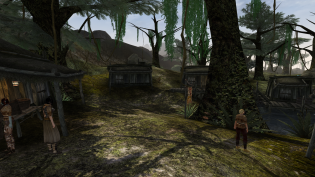
Cities, Towns, and Forts
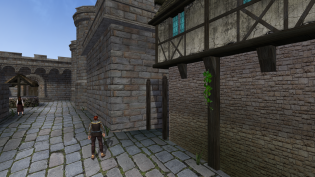
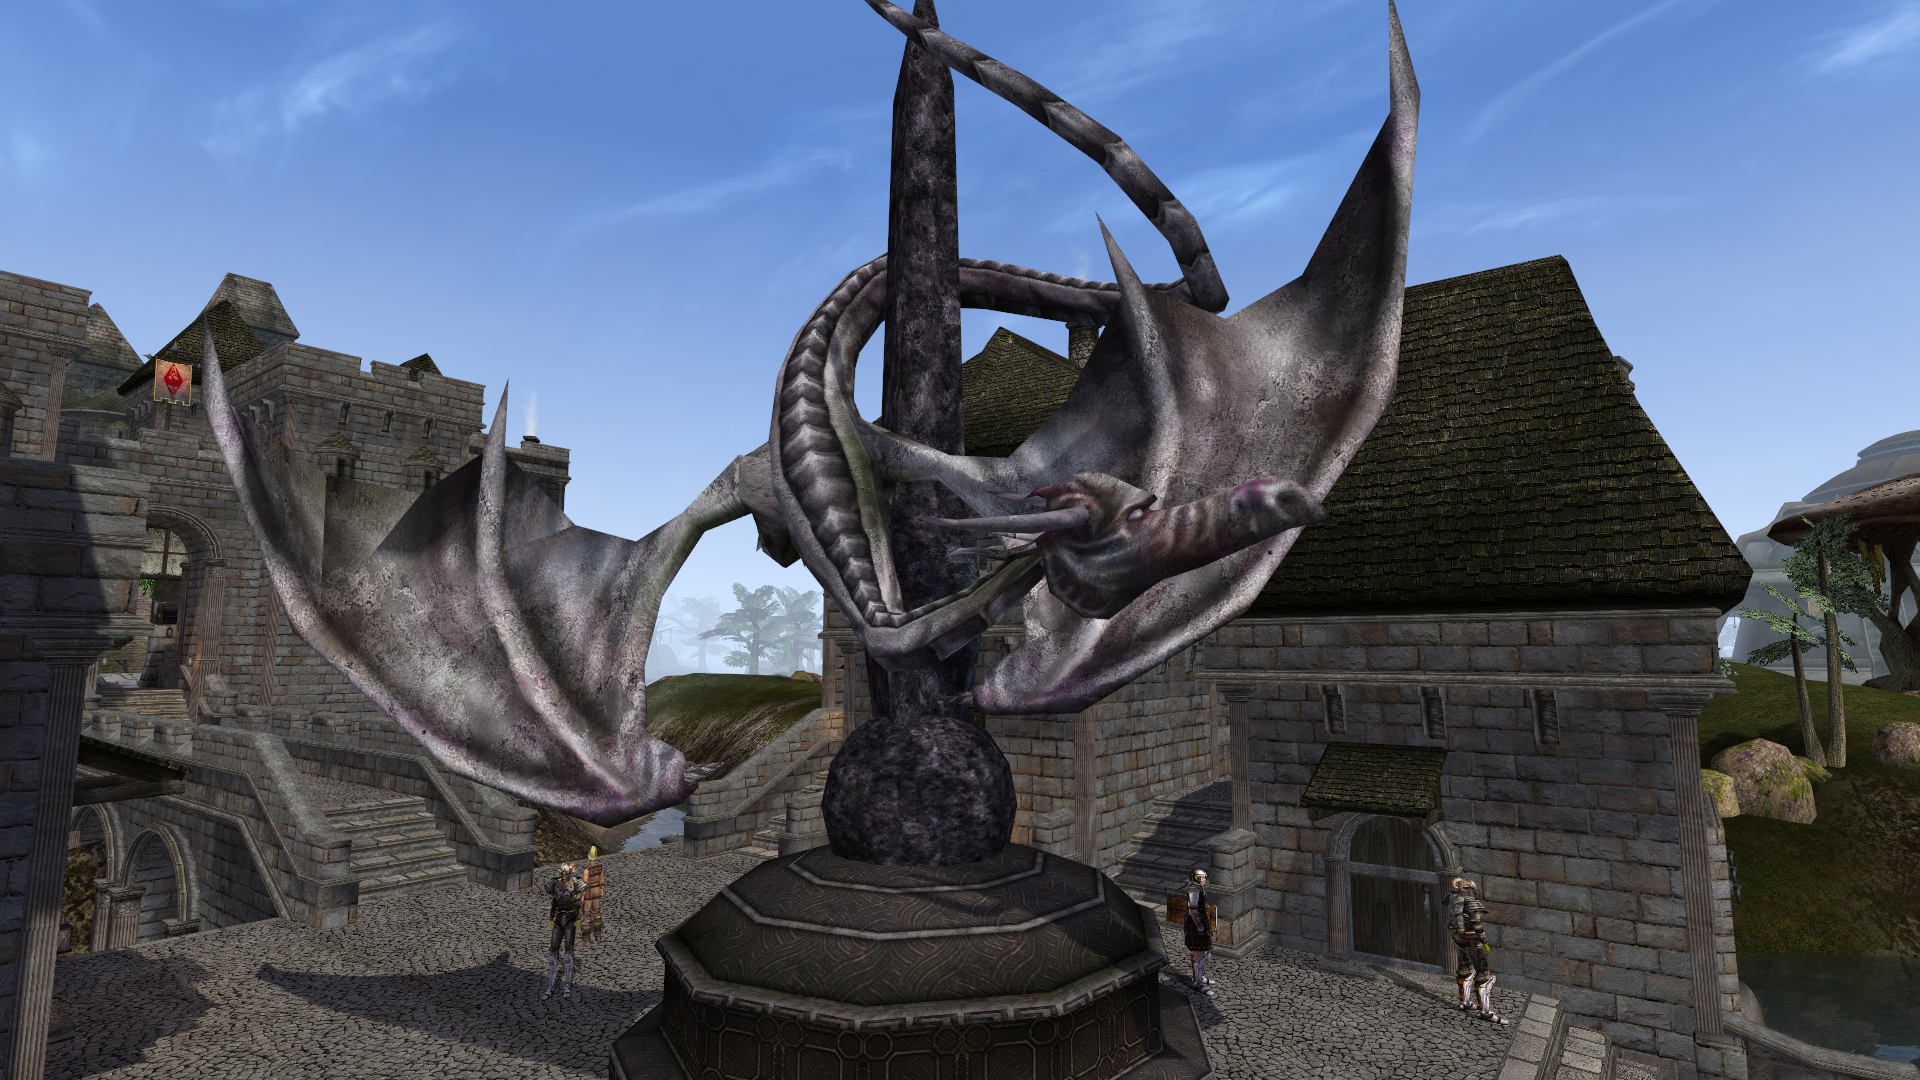
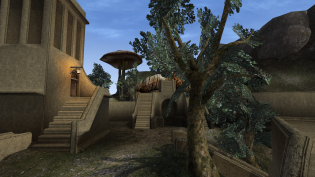
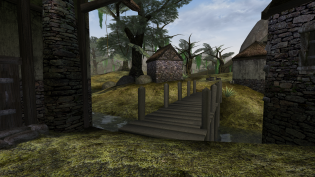
Download Imperial Housing Retexture V2 by AnOldFriend and the Vanilla-Friendly Retexture by Elmer (for the time being, you want the optional file without bump maps). Now download Saint_Jiub’s HiRez Imperial Architecture (dark interiors version). Install all three in that order and allow all overwrites. Also grab this Dragon Statue Retexture by StoneFrog and install it too. Here are the results (again, a couple of these ground textures are being added later):
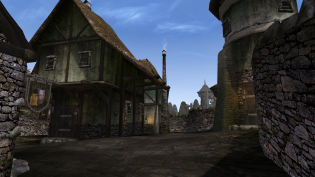
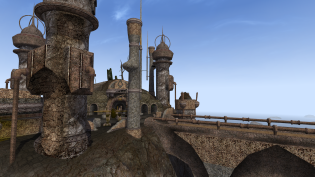
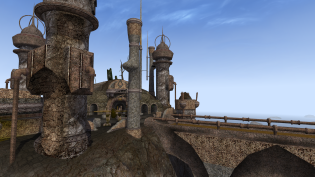
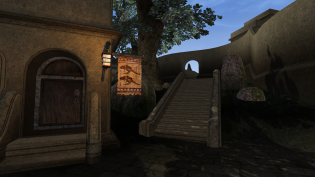
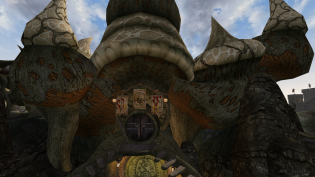
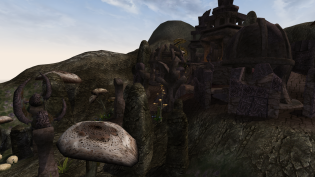
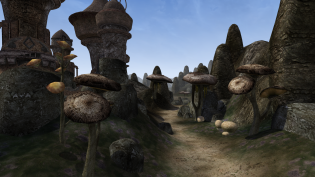
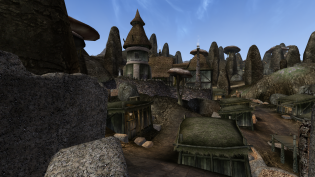
Now we’ll be using the Arkitektora of Vvardenfell series by Tyddy: Redoran (covers cities like Ald-ruhn and Mar Gaan), Hlaalu (Balmora, Suran), Velothi (Vivec, Molag Mar, ancestral tombs and towers), and Telvanni (Sadrith Mora, Tel Fyr). The first three are fairly straightforward (and you should use the HQ versions unless you have a weak computer), but when you get to Telvanni, you have a couple of small issues to deal with.
When you install the Telvanni upgrade, do not overwrite ex_t_clawgrowth_01.nif, ex_t_clawgrowth_02.nif, or ex_t_manor_02.nif as better versions have already been provided by Telvanni Mesh Improvement. There’s also a small matter of a missing texture. The easiest way to deal with this is, after you copy the textures over, find Tx_bark_01.dds, make a duplicate, and name it Tx_bark_01_nm.dds. If you like, you can get it out of the “AoVv Telvanni Bump Maps” optional file corresponding to the resolution of the main file you downloaded, but I have been trying to save bump maps for later because they may require you to make some tweaks to your MGE settings.
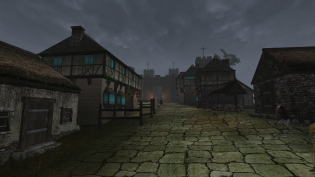
Our results so far for Redoran, Hlaalu, Velothi, and Telvanni style cities (including ground textures we’re adding later):

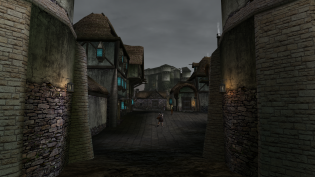
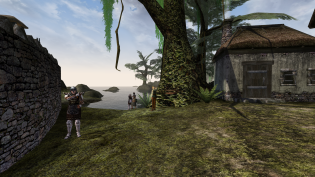
Shacks, Docks, and Ships will round out our towns and cities. Merge its Textures folder with your own, and allow all overwrites. Ignore the Extras folder for now; it’s a patch for Windows Glow that we are not using yet.

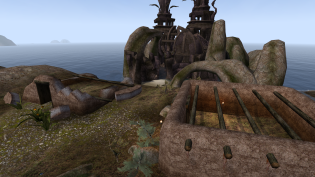
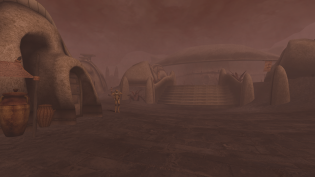
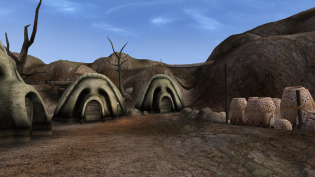
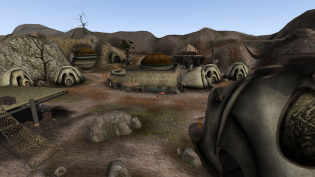
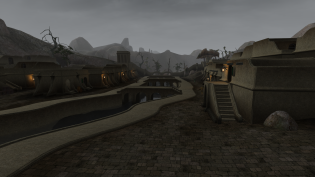
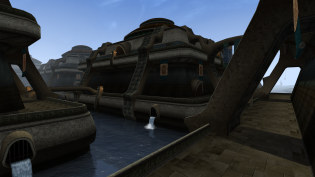
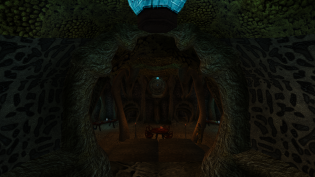
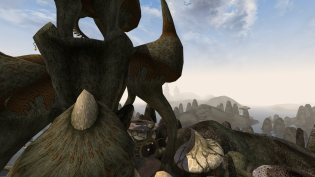
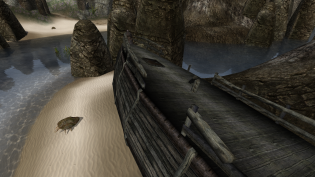
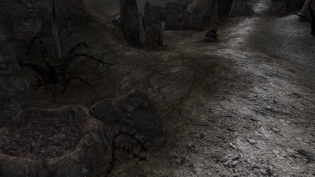
Sewers, Strongholds, and Caves
For sewers, Tyddy has again provided us with excellent high-definition retextures. Sewers – Arkitektora of Vvardenfell offers both a vanilla version and a “more realistic dirty version” down in Optional Files. Use the vanilla version. The dirty one is very dirty indeed (you can almost smell it. In fact, you’re lucky I haven’t figured out how to add smells to Morrowind yet), but the dirt seems too uniform in my opinion and tiles in patterns too obviously, so stick with the vanilla. It’s still high-resolution and still gross.
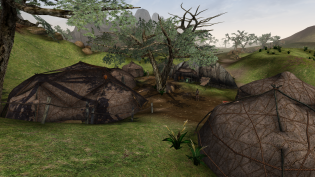
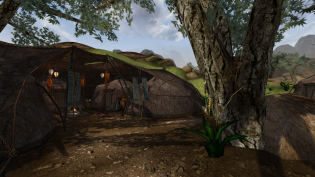
Download Connary’s complete collection of textures (and hang on to it; we’re going to use bits and pieces of it as we go), unzip it and look for “Connarys miscellanea places – Dunmer Stronghold.” It includes both meshes and textures. Merge the meshes folder with yours, but when copying textures over, do not let it overwrite tx_boulder10.dds, tx_hinge00.dds, tx_lockbox00.dds, tx_stucco_10.dds, or Tx_wood_weathered_rings_01.dds. Also download both “PPR_Glow” and “PPR_Index Addon” from Propylon Pillar Retexture by Alaisiagae and install them.
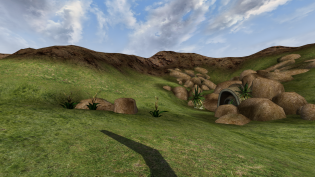
Now, look in your Connary folder and find the subfolder called “caves.” Copy all those into your Data Files\Textures folder and allow all overwrites (caves are something else we can upgrade further but I’m saving that for later because of other tasks involved).
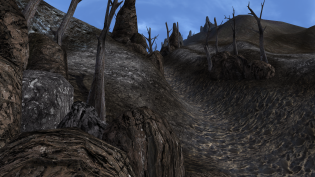
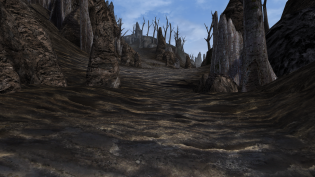
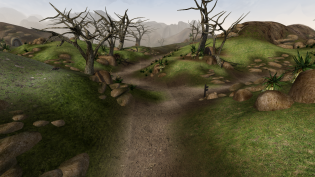
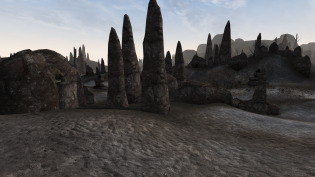
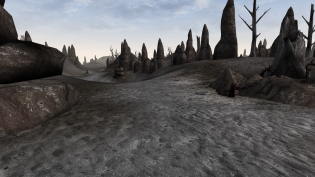
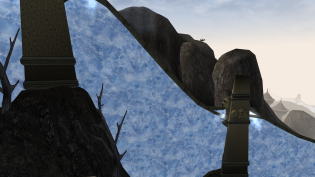
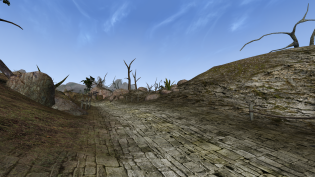
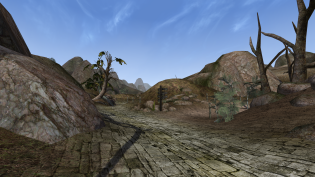
Ground Textures
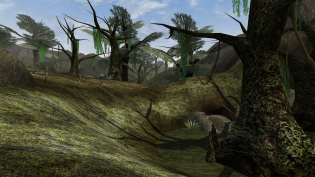
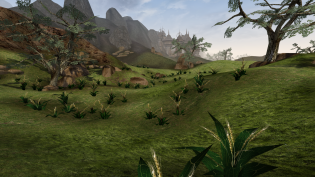
Download Landscape Retexture by Lougian (no need to download the Bloodmoon one; we are not using it at this point), but before you install, rename tx_wg_cobblestone_01.dds to tx_cobblestone_01.dds. Next install this one that I made and allow all overwrites.
We still have quite a bit to do, but let’s pause and take a look, shall we?

Continue to the next entry in which we apply new textures to the Tribunal and Bloodmoon expansions!

11 pings
Skip to comment form ↓