This guide is undergoing a significant update for 2020, and the below information is going to be completely replaced in the main guide. However, this page will remain online to preserve it for anyone who prefers this older installation method. To see the 2020 updates for the guide, I recommend you go to the first page and continue from there, or alternately visit my Morrowind index which lists which guide steps are 2020-ready.
Continued from Part 9, or start at the beginning.
Now that we’ve updated the graphics for characters, clothing, armor, and weapons, it’s time to move on to the rest of the world. As you know (if you’ve been reading!) my preference is to mod Morrowind in such a way that it simply looks like a modern version of the same game, without changing the overall feel. I also like to go for straight replacers first, converting all the original graphics, before I move on to adding things with no preexisting counterpart. So far, I’ve been sticking closely to addons that, above all, fill those requirements, and that has narrowed my selection down greatly.
World textures are a different matter. You wouldn’t expect it, but this is where the hardest choices come in for someone trying for both quality and purity. Consistency is also important, as landscapes and objects need to look like they belong in the same world. Even when sticking as closely as possible to the original look, texture packs exist in abundance, and they aren’t always clear as to what they cover. I am in the process of creating a detailed comparison of available texture packs so you can decide for yourself which you prefer. For this guide, however, we’re going to use my judgment as to what looks the most like Morrowind.
Be aware that this page is most likely going to receive future revisions as I seek the ideal combination of texture packs. Also, it is now absolutely vital that you back up your Data Files folder at this time, and again in between texture pack additions. Morrowind world textures are one of the parts of the game most heavily subject to personal preference, and if you pay close attention and are careful to make backups, you will find it much easier to alter this setup to suit your tastes.
Retexturing Morrowind
We’re going to start with a large, general pack of textures covering a wide variety of things in the world, and follow it up with more specialized replacers until everything looks as nice as possible. Between every step of this entry, back up your Data Files (not just the Textures folder, as we’ll be upgrading meshes too), and test ingame frequently.
A Note About Install Order
My original intent for this entry was to divide it up a lot more neatly, starting with larger things (landscape, buildings, etc) and moving downward in size to the smallest objects, but that turned out not to be feasible, as many of these addons include diverse items of all categories. What I ended up needing to do was to install based mostly on whether or not something was later going to be overwritten. The end result is not the neatly organized “Part A: Landscapes, Part B: Buildings, Part C: Miscellaneous Items” type of layout I had envisioned, but instead an install order tailored around the simplicity of allowing mods to overwrite other mods. Of course, there are exceptions, and these are noted. Basically what I am saying is that I know it seems weird to install a miscellaneous item replacer in the middle of two building mods, but bear with me: I put them in that order for a reason. Just be sure to stick to this order and take note of what and when to overwrite, and you should have no trouble!
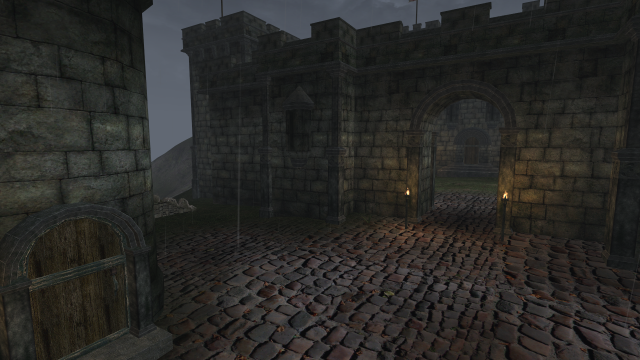
The Basics: World Textures
For now, start with Mixed Textures. This will raise the texture quality of most of Morrowind and both expansion packs, and will also make it easier to identify issues. Drag the Textures folder into your Data Files folder but pay attention: it will ask to overwrite five files. In this case, do not overwrite, just click “skip.’ These textures have already been provided, in higher quality, by one of our weapon mods that we previously installed.
Why Mixed Textures?
If you have any experience with Morrowind modding, you may be asking yourself why I chose to use Mixed Textures, what with the large variety of texture packs available (and it’s a perfectly reasonable question). The answer is that it stays very close to the original look, covers most of the world including parts of both expansion packs, is lore-friendly, installs easily, and has a small enough footprint that it shouldn’t slow you down even if your computer isn’t top-of-the-line. It makes a very good springboard, especially for someone who has never delved into texture mods, because it’s quite good at showing what can be done and will whet your appetite for picking the perfect textures for your Morrowind experience. There are other more-advanced packs, but those tend to be specialized to particular things (like specific building styles, or ground textures only), and while we will be using some of those later, if we go straight into them from vanilla we may end up with a few random things here and there that haven’t been retextured at all, and will appear as a blurry mess in the middle of all your nice HD textures. So, installing a full-coverage pack like Mixed Textures first makes sense. It will also make our mesh improvements stand out a lot more, so you can better appreciate the changes we’re making in this entry.
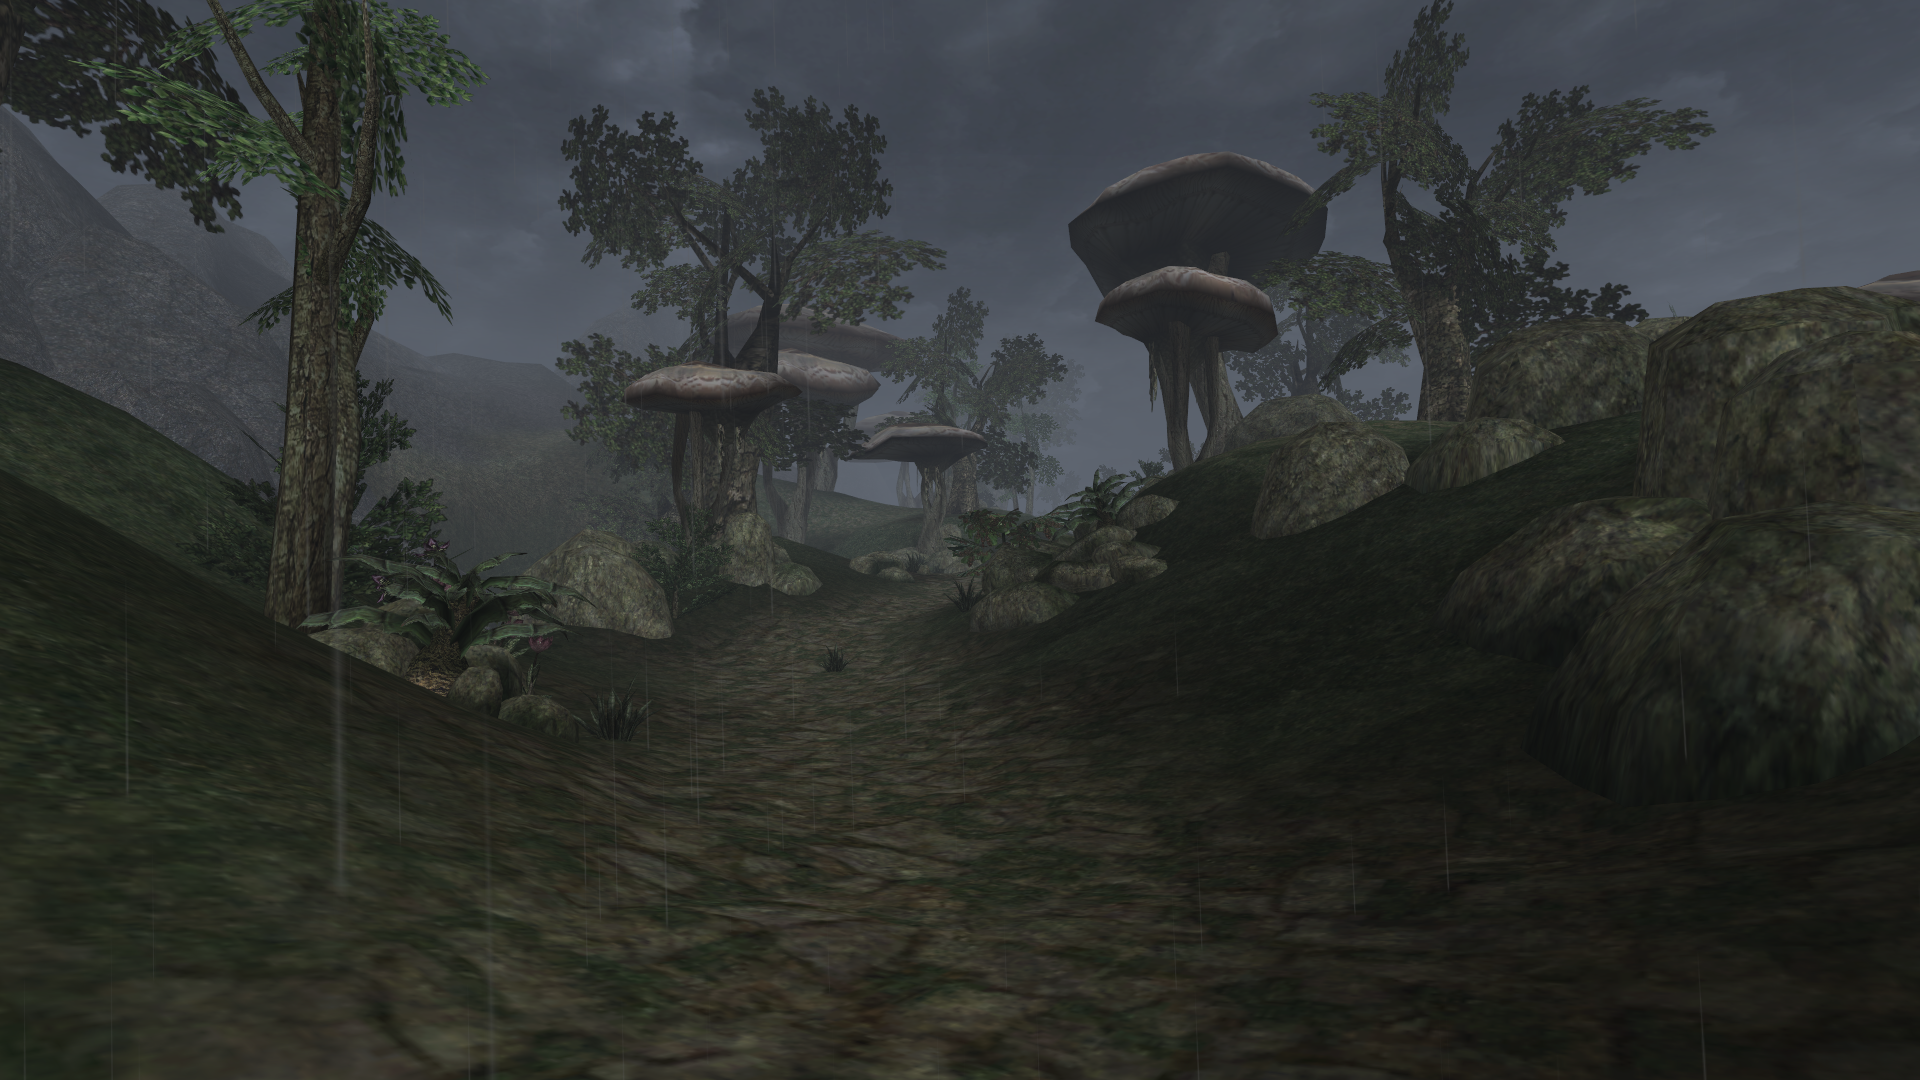
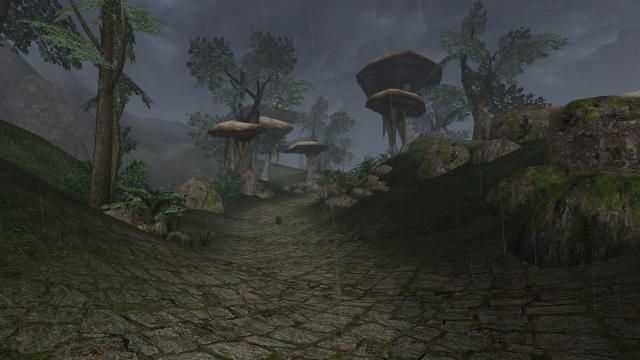
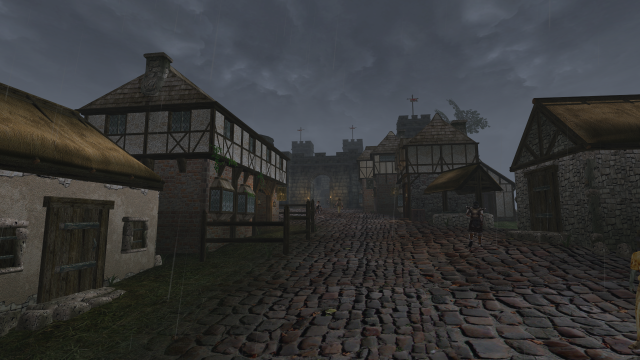
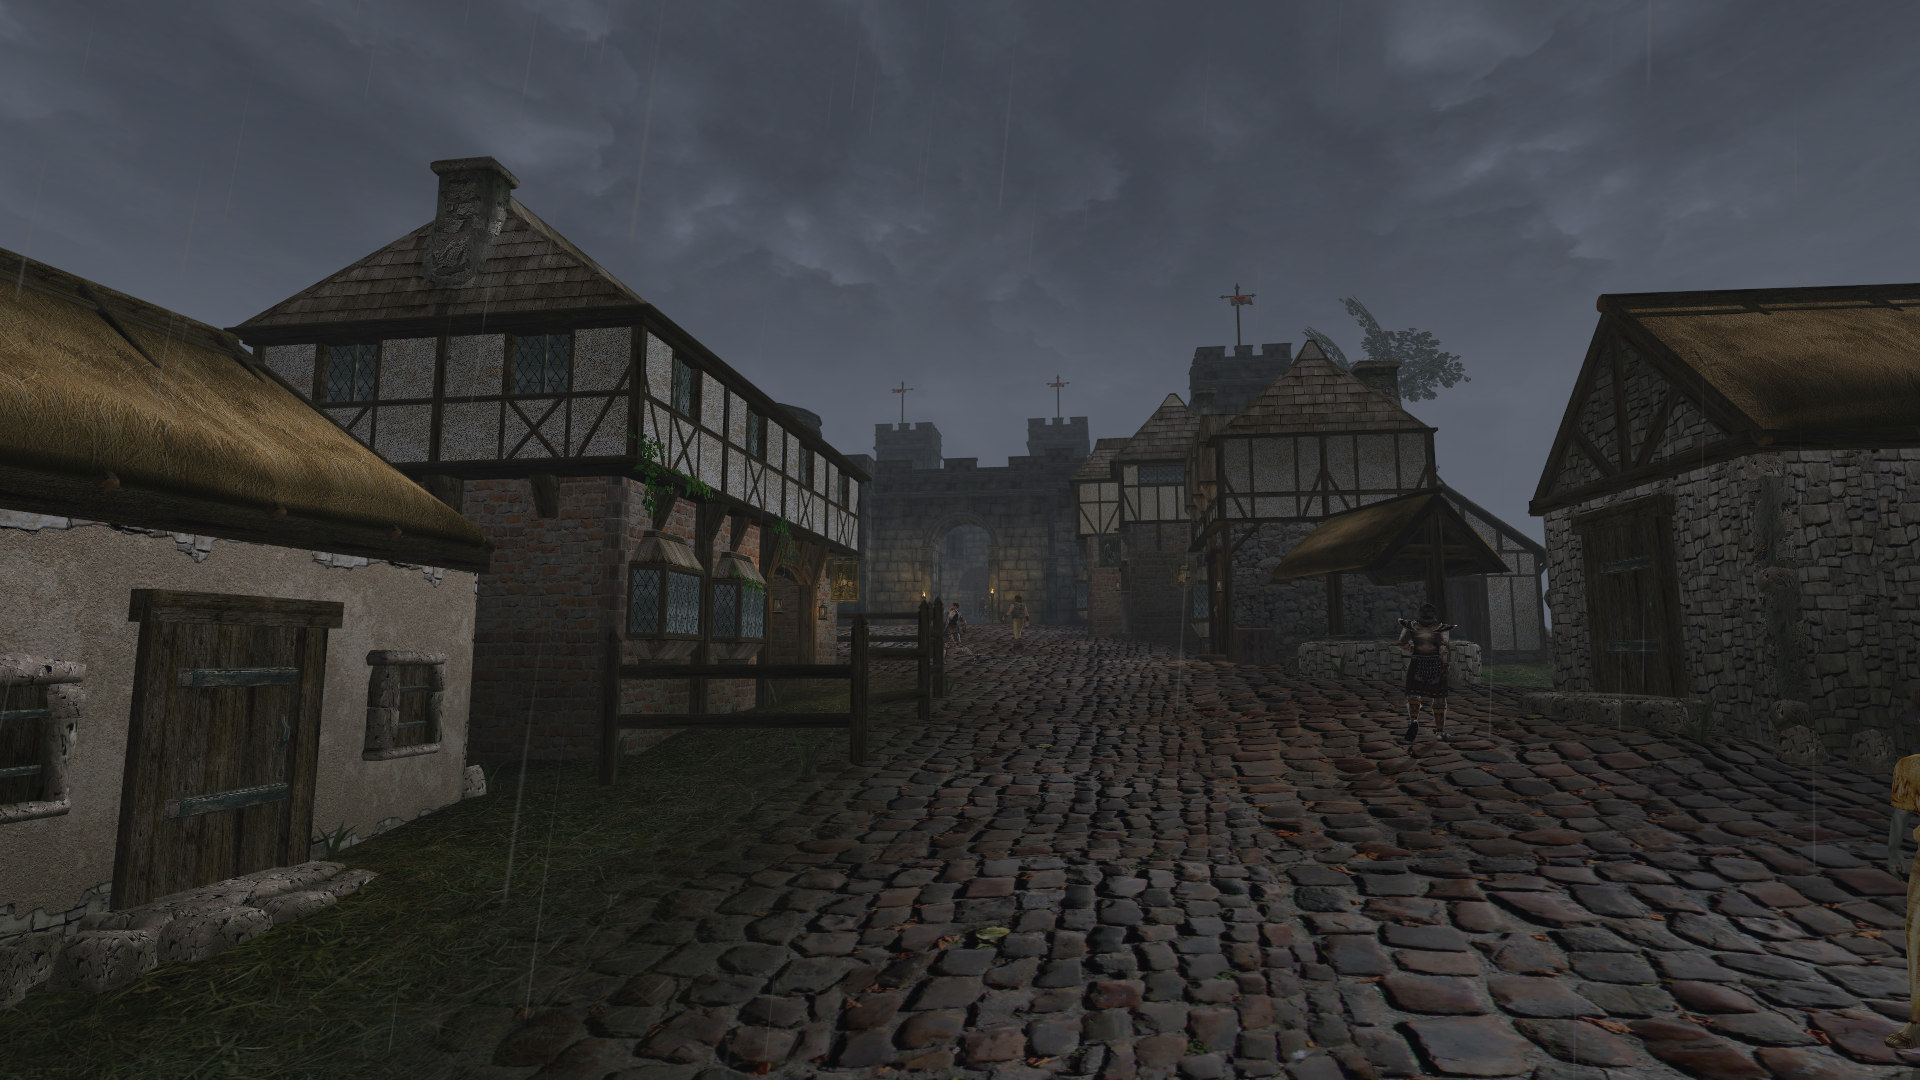
Ready for a before-and-after? This isn’t going to illustrate all the upgrades we are going to make, but it does illustrate the huge difference textures can make to the world, even when this is not our final product (and it’s not).
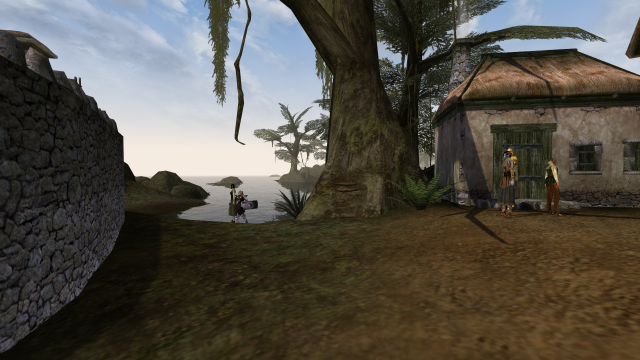
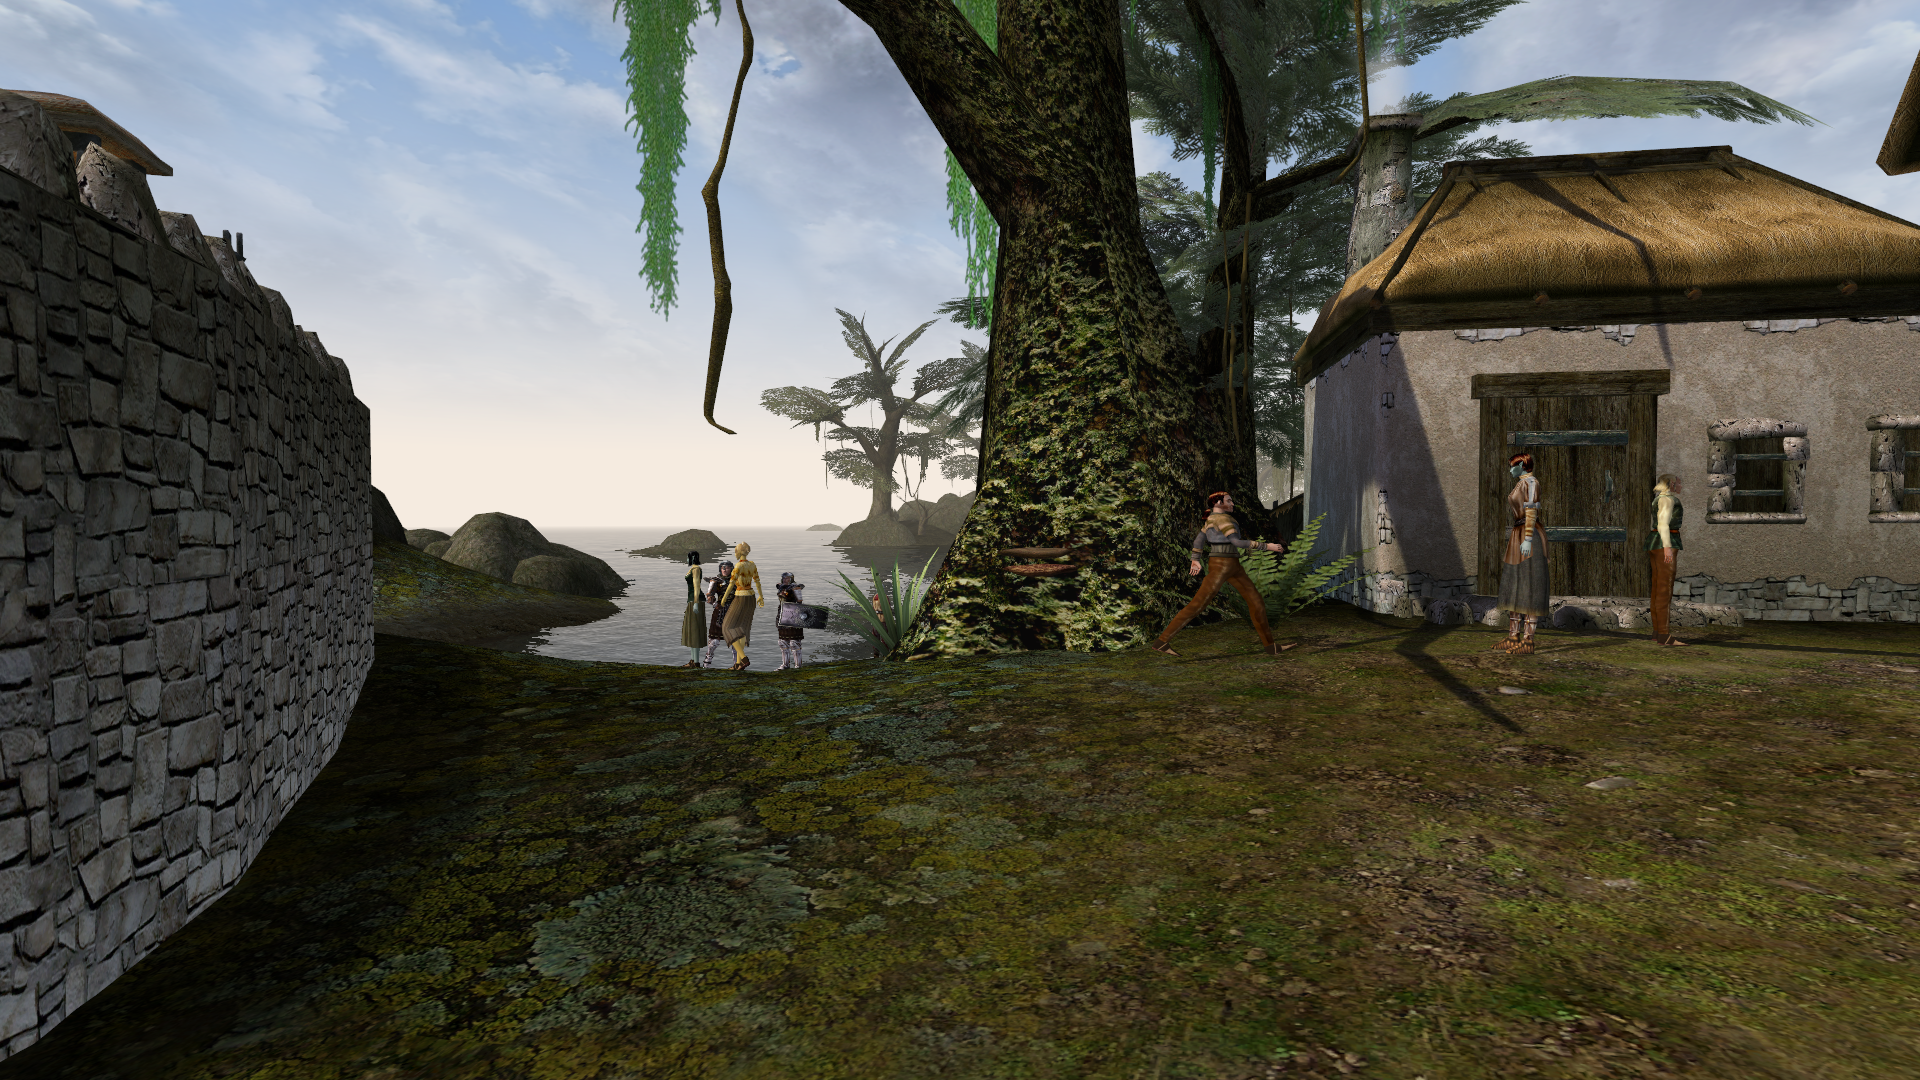
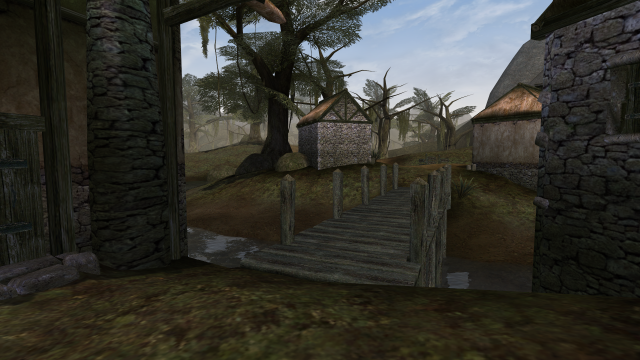
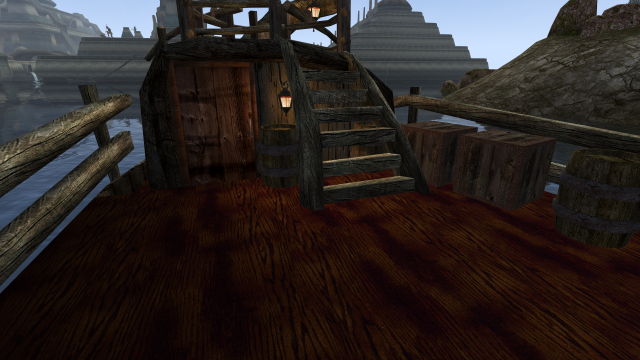
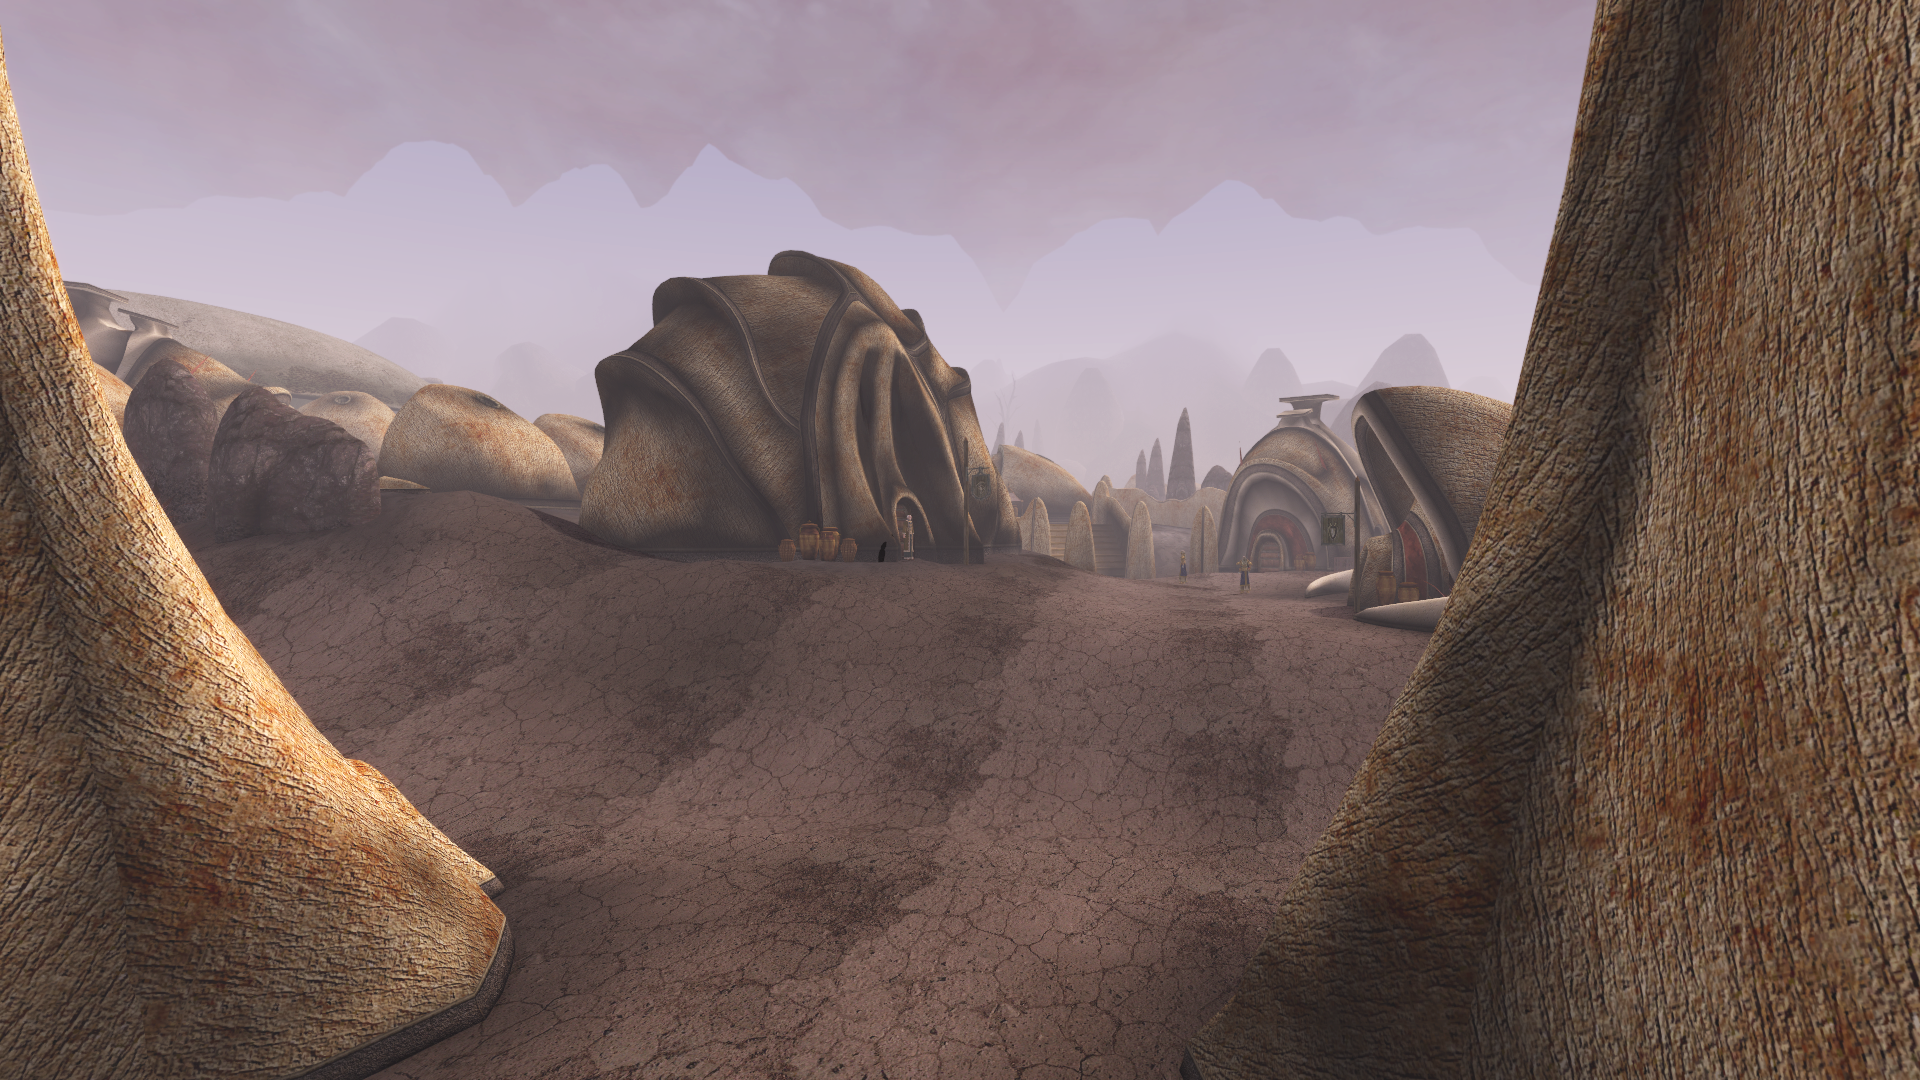
For the moment, let’s stay in the humble village of Seyda Neen.
-
- Seyda Neen with original textures…

-

- …and with Mixed Textures.
-
- Let’s cross this bridge…

-
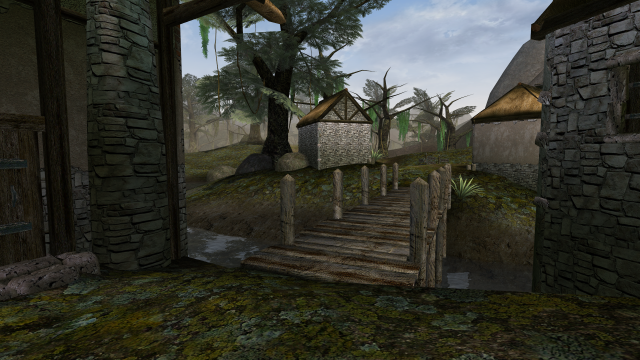
- …or this prettier one.

-

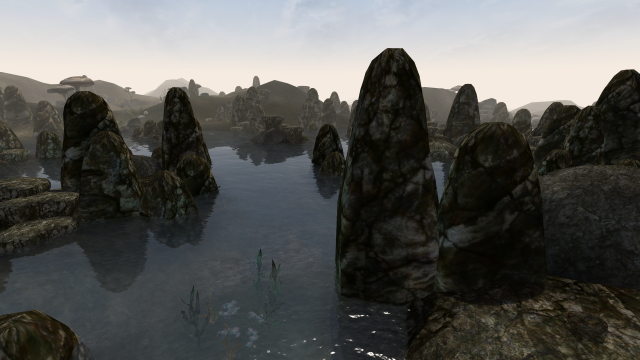
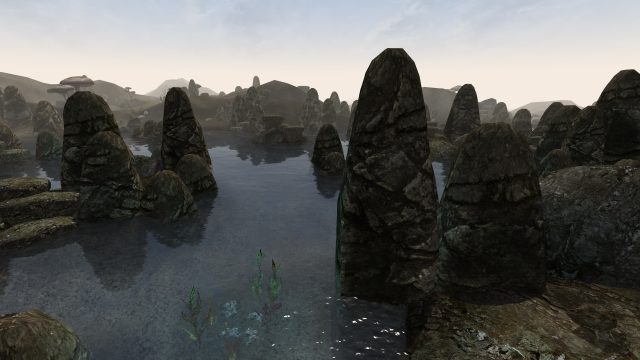
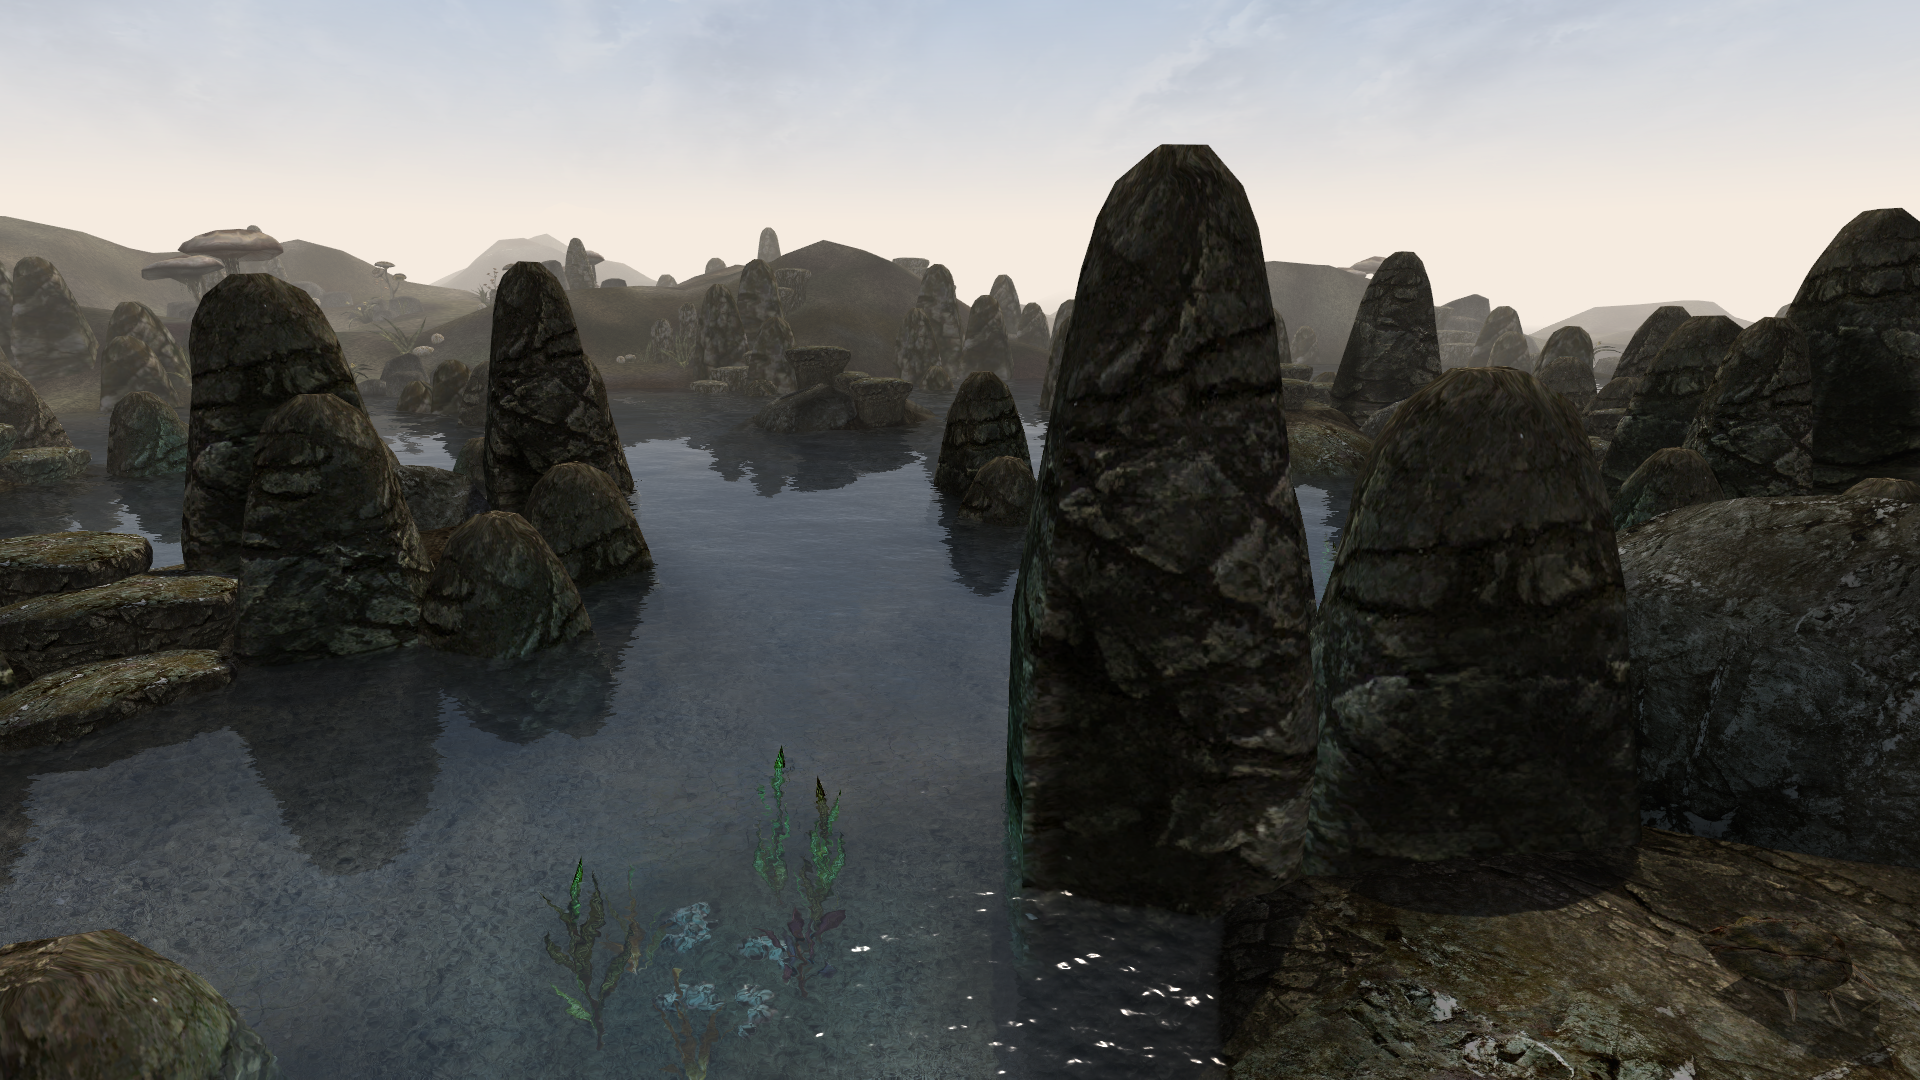
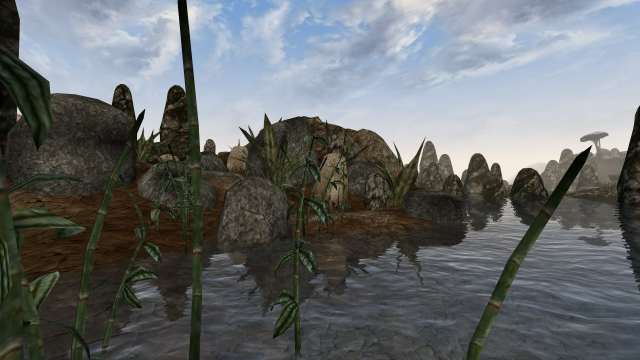
- Welcome to the Bitter Coast…

-
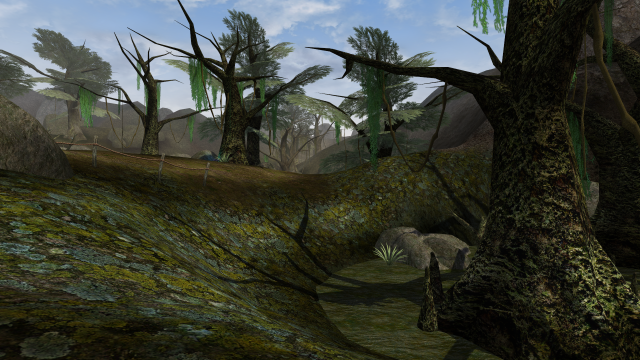
- …welcome again with Mixed Textures.

-
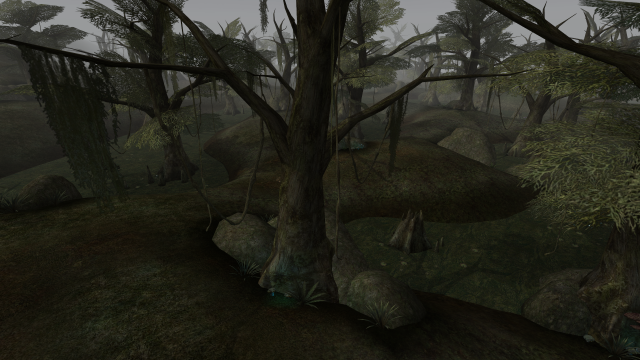
- Original swampland…

-

- Mixed Textures.
-
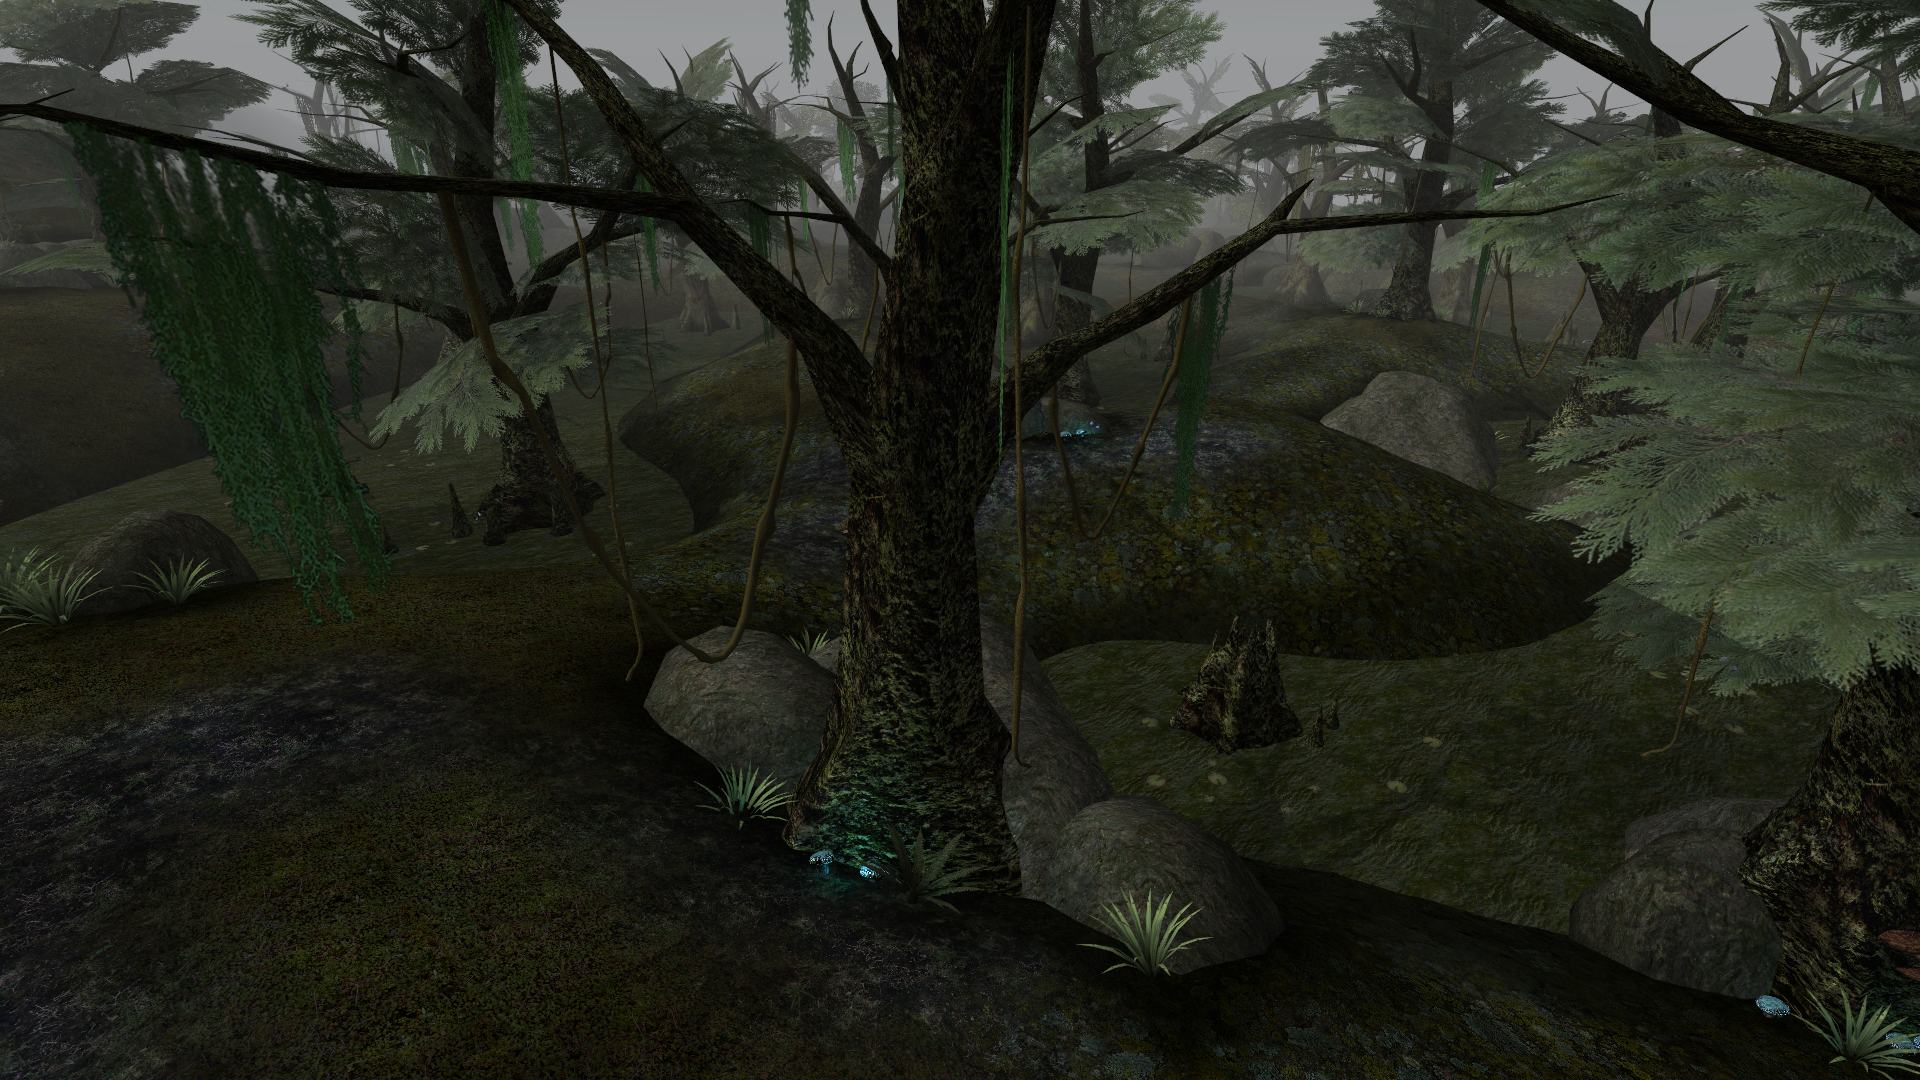
- Approaching the first cave…

-
- …and with Mixed Textures.
-

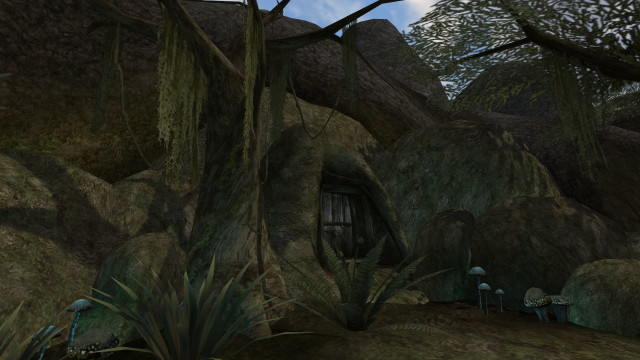
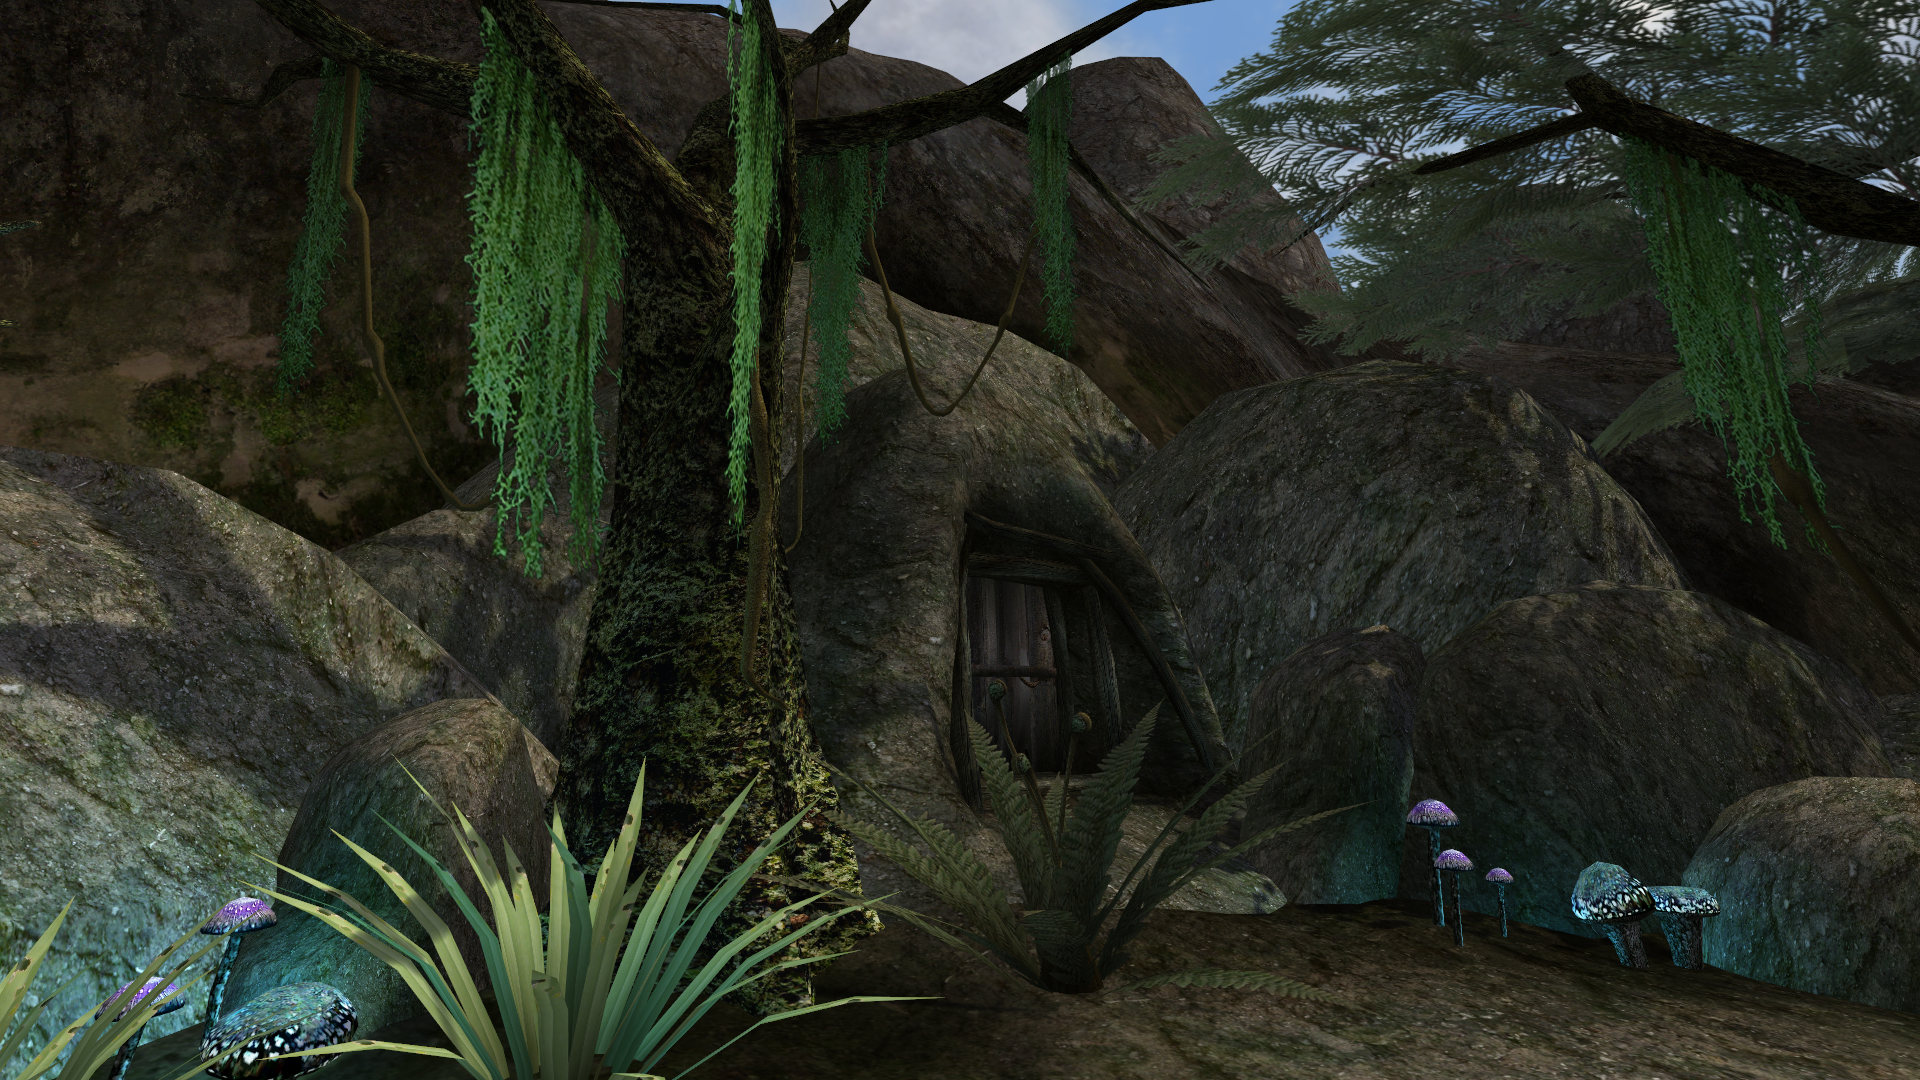
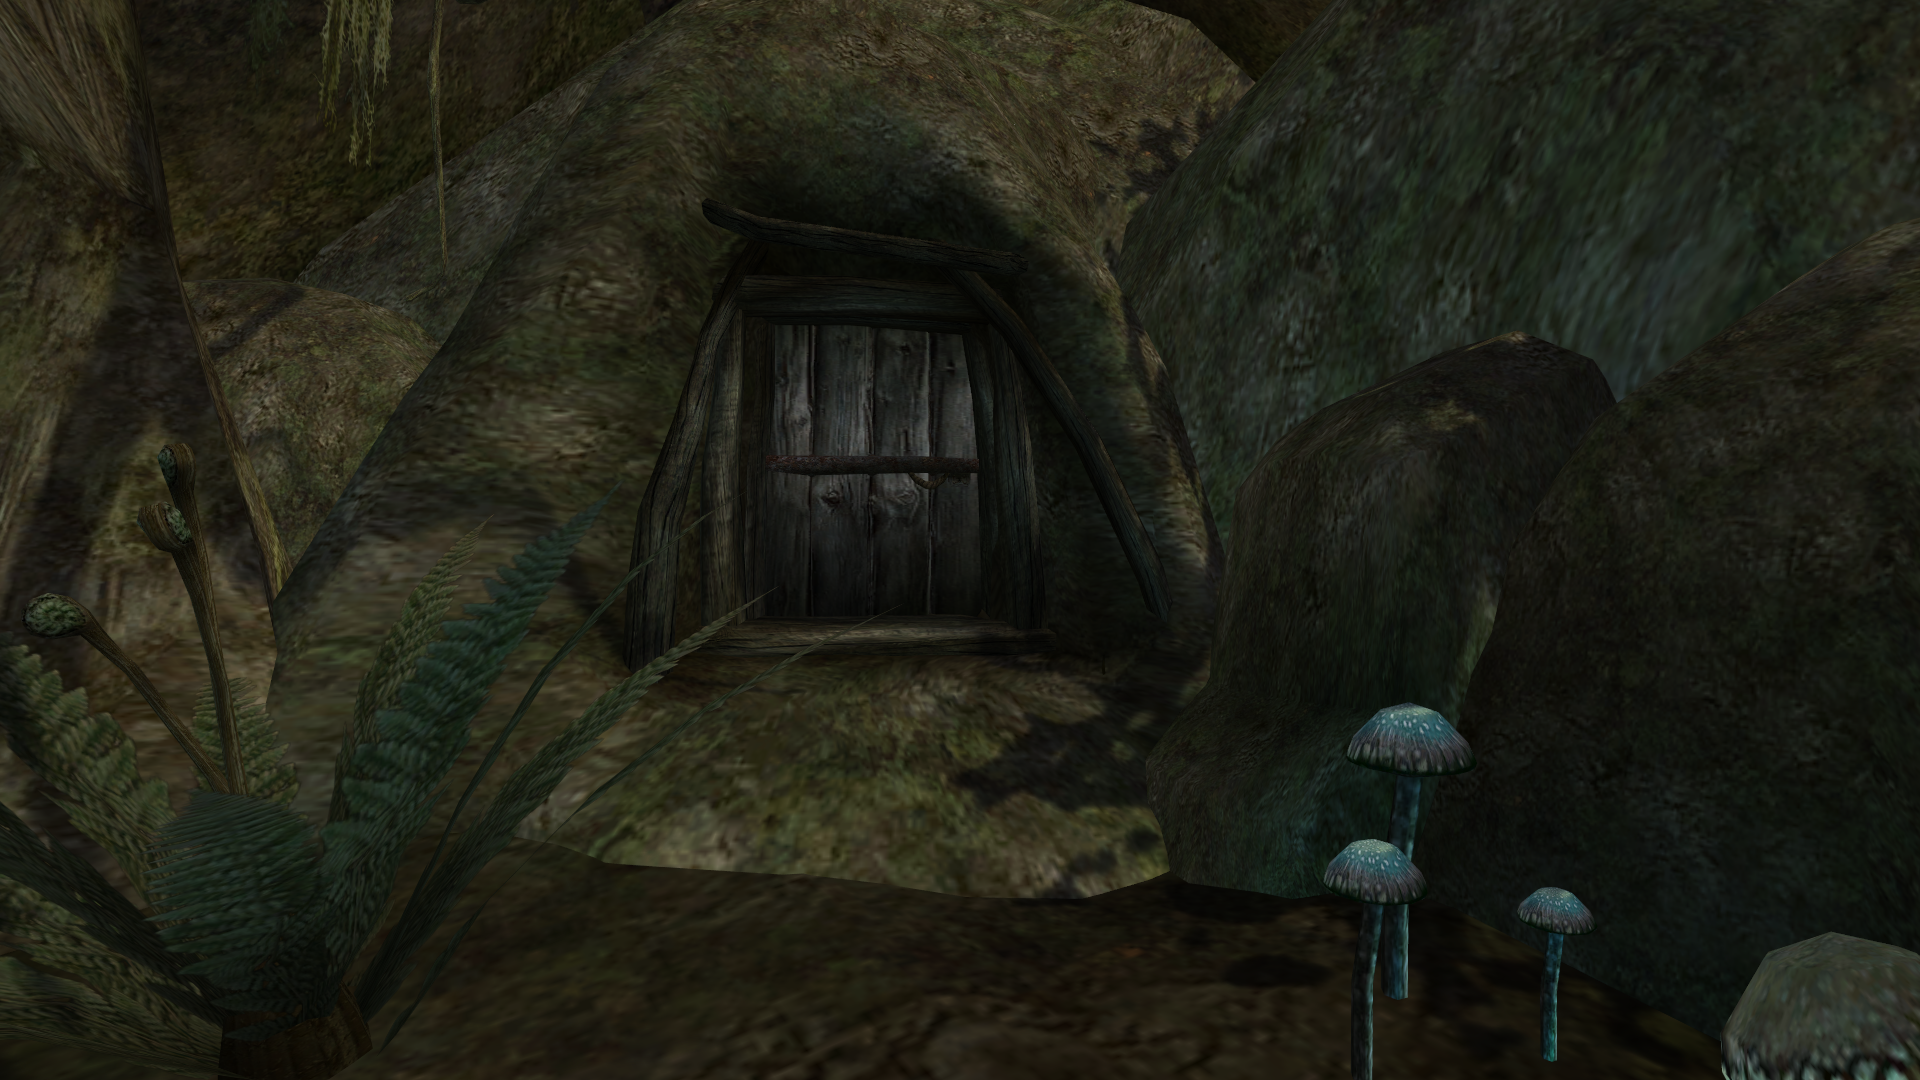
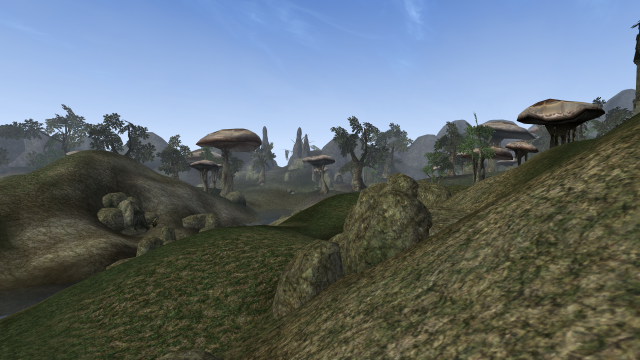
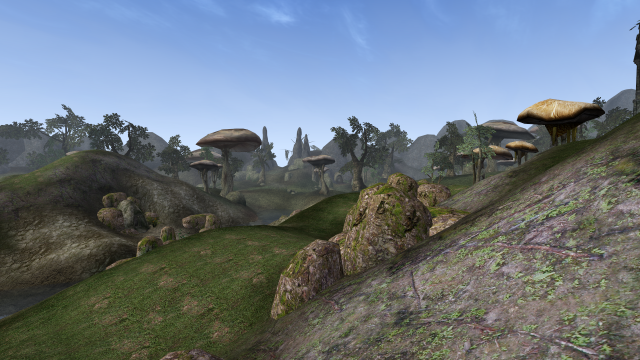
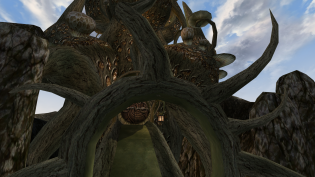
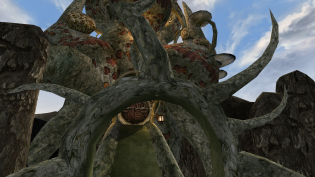
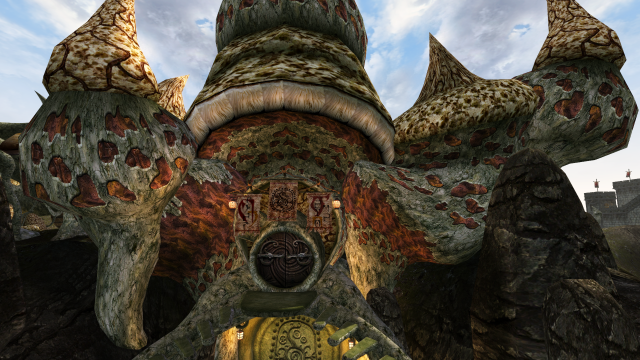
- The mouth of Addamasartus…
-

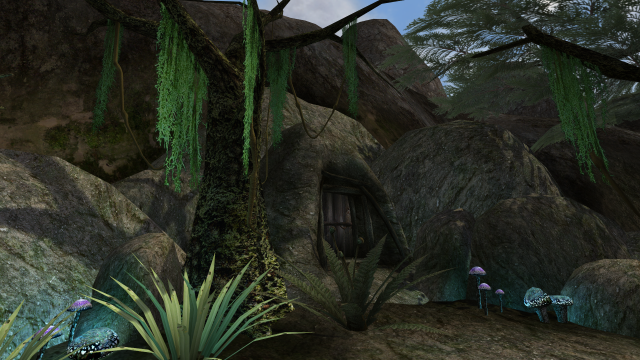
- …with Mixed Textures.
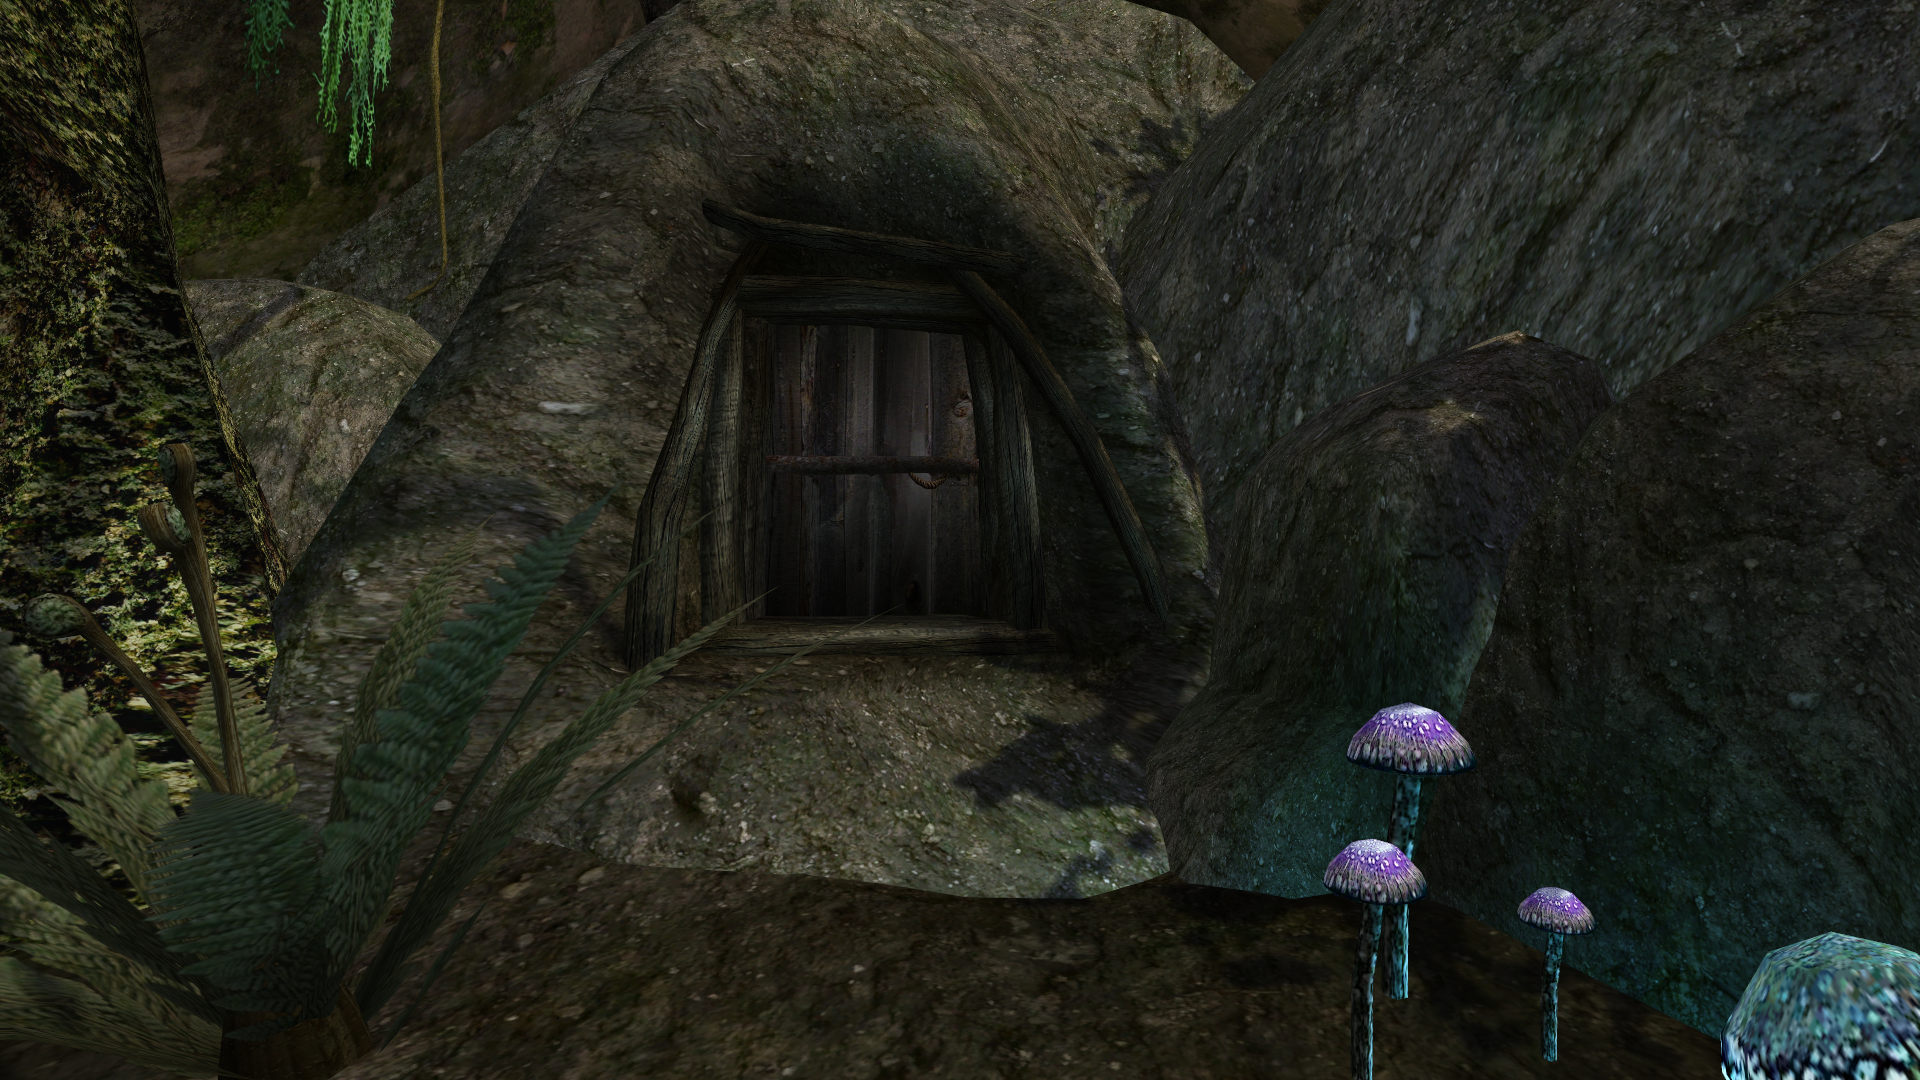
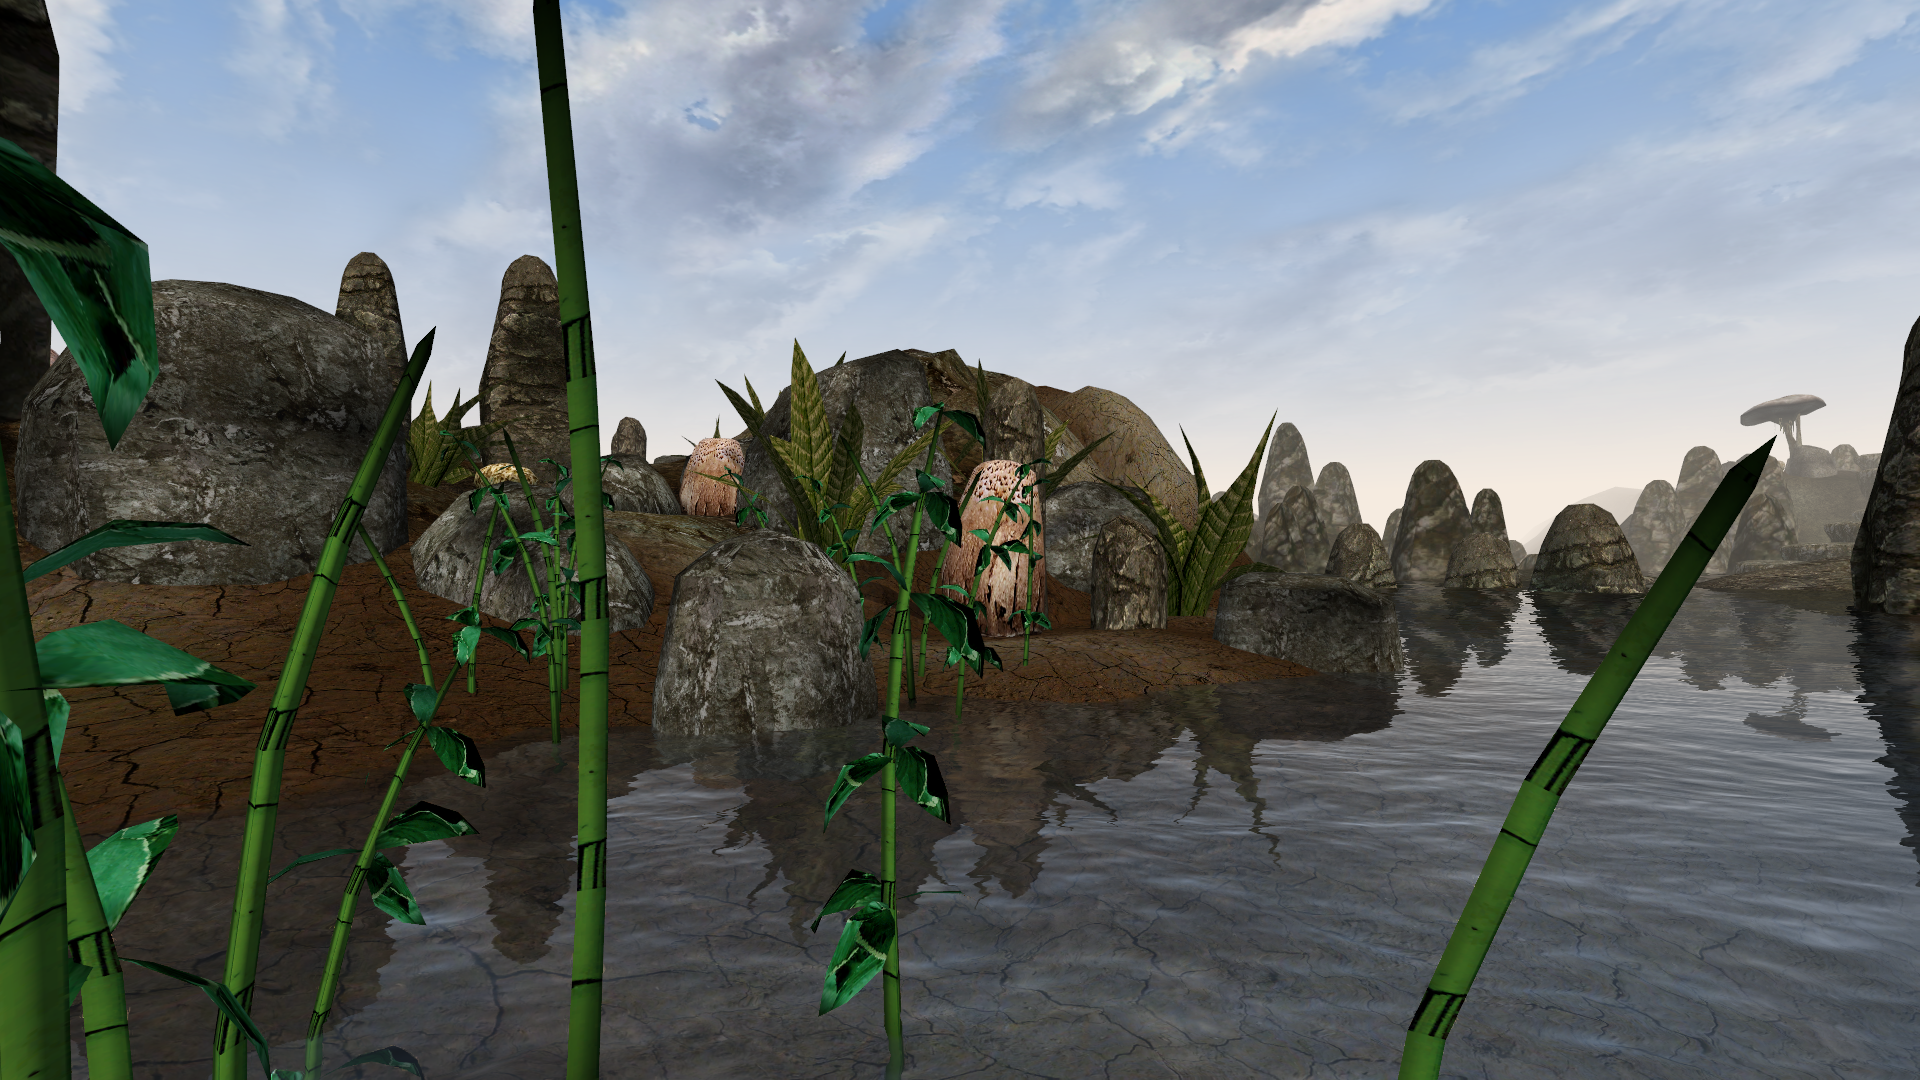
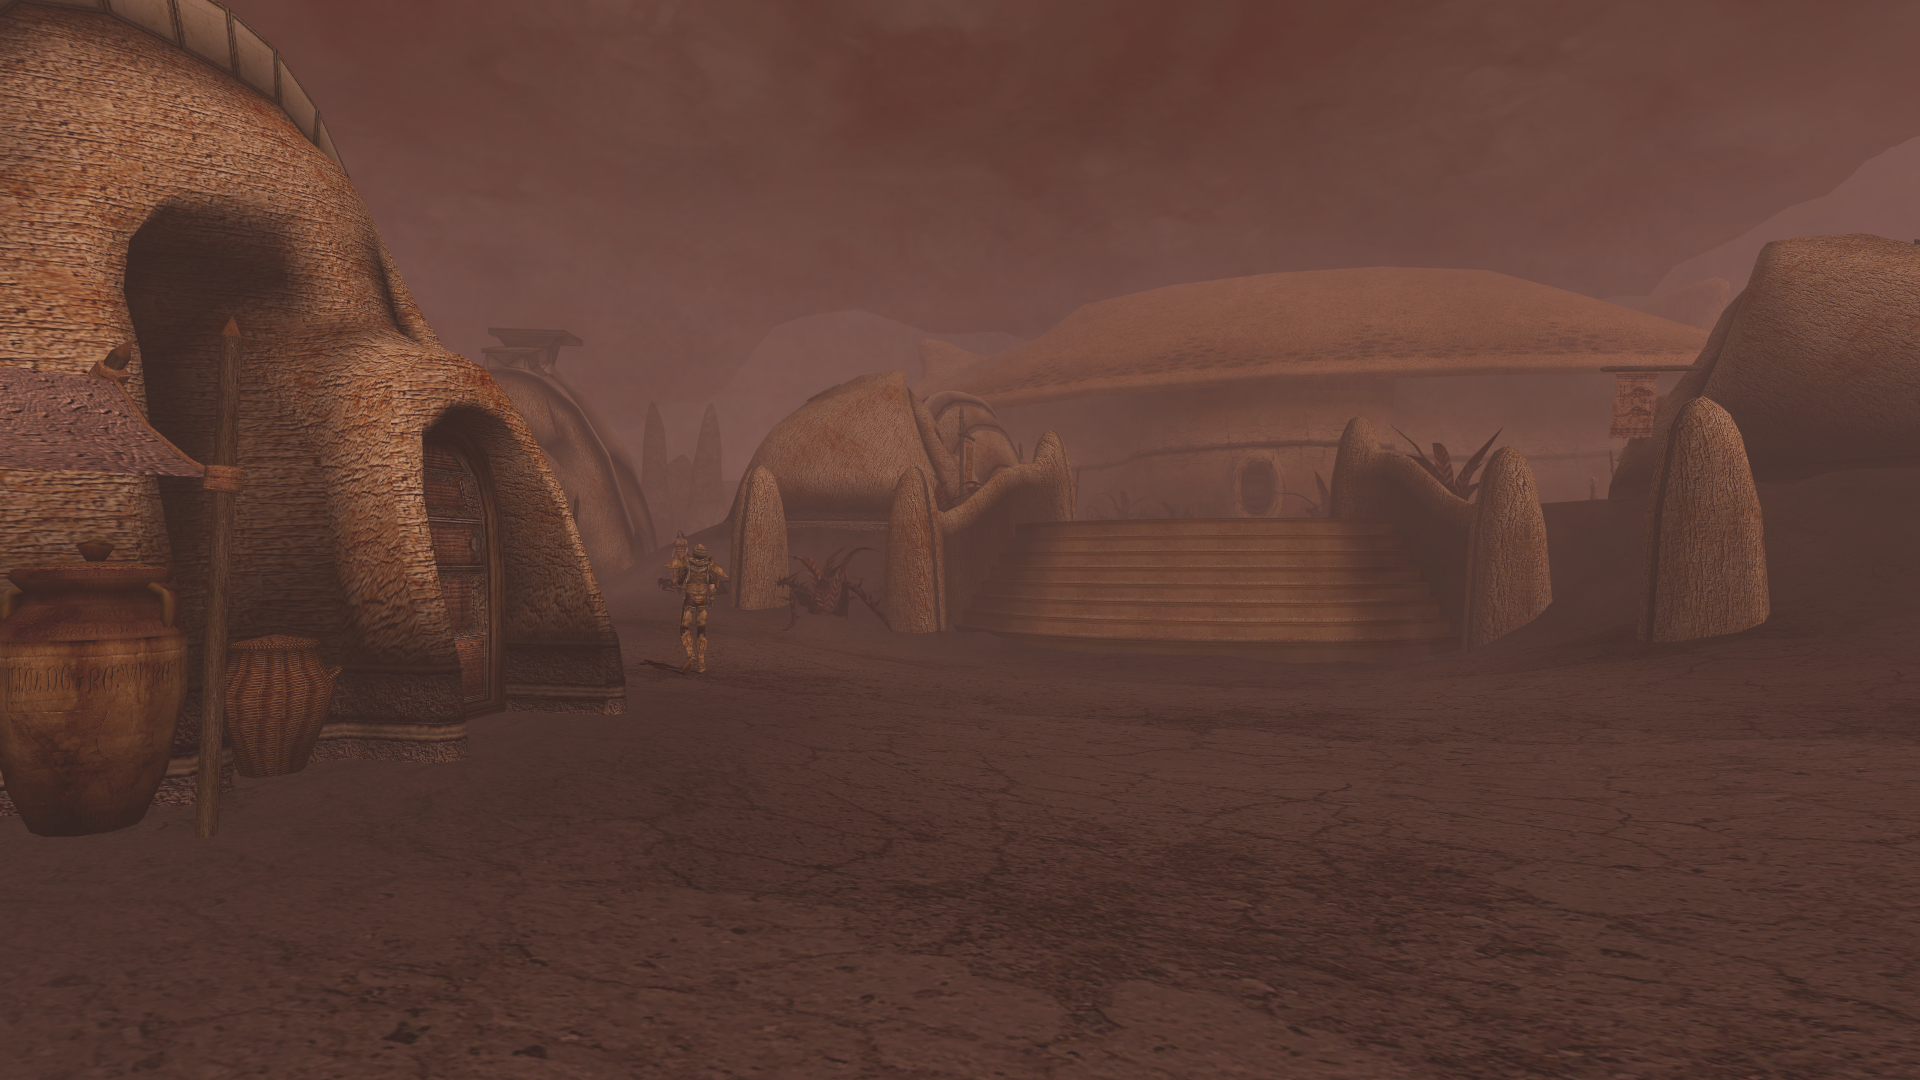
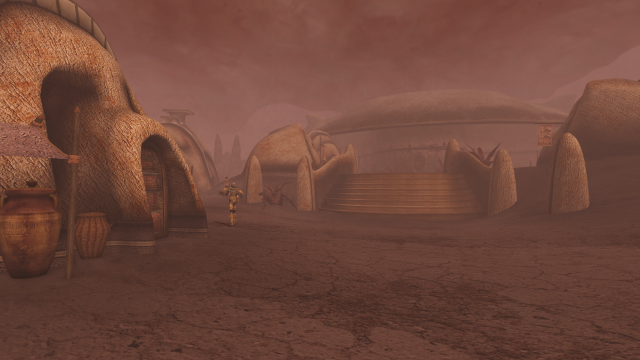
The quality has definitely improved, but you may notice a few unexpected changes, such as the mushrooms in the last set of screenshots becoming purple. While exploring the world of texture mods you will come across many such artistic decisions by the creators of each texture pack. Some will fit in the world of Morrowind, and some will not. In this case, those mushrooms are known as Violet Coprinus, so it does make sense to make them purple (even though there is an NPC that comments on how they “glow blue at night…” *sigh* Well, we’re far from done here so they might not stay that way, and besides, they could be violet mushrooms that glow blue!).
If you find yourself disliking a particular change, it’s easy enough to go into your Textures folder and delete the offending .dds file, or overwrite it with another, as long as you actually know which one you’re looking for. Be aware, though, that some texture files are used for more than one object, such as some wood and metal textures being used by both weapons and world objects (which is why Mixed Textures, which is supposed to be world textures, tried to overwrite certain textures included with our weapon mods).
To fully appreciate the degree of change, let’s explore a little further.
-

- Of course, it’s bloody raining.
-
- Mixed Textures helps a bit, though!

-

- Welcome to Pelagiad.
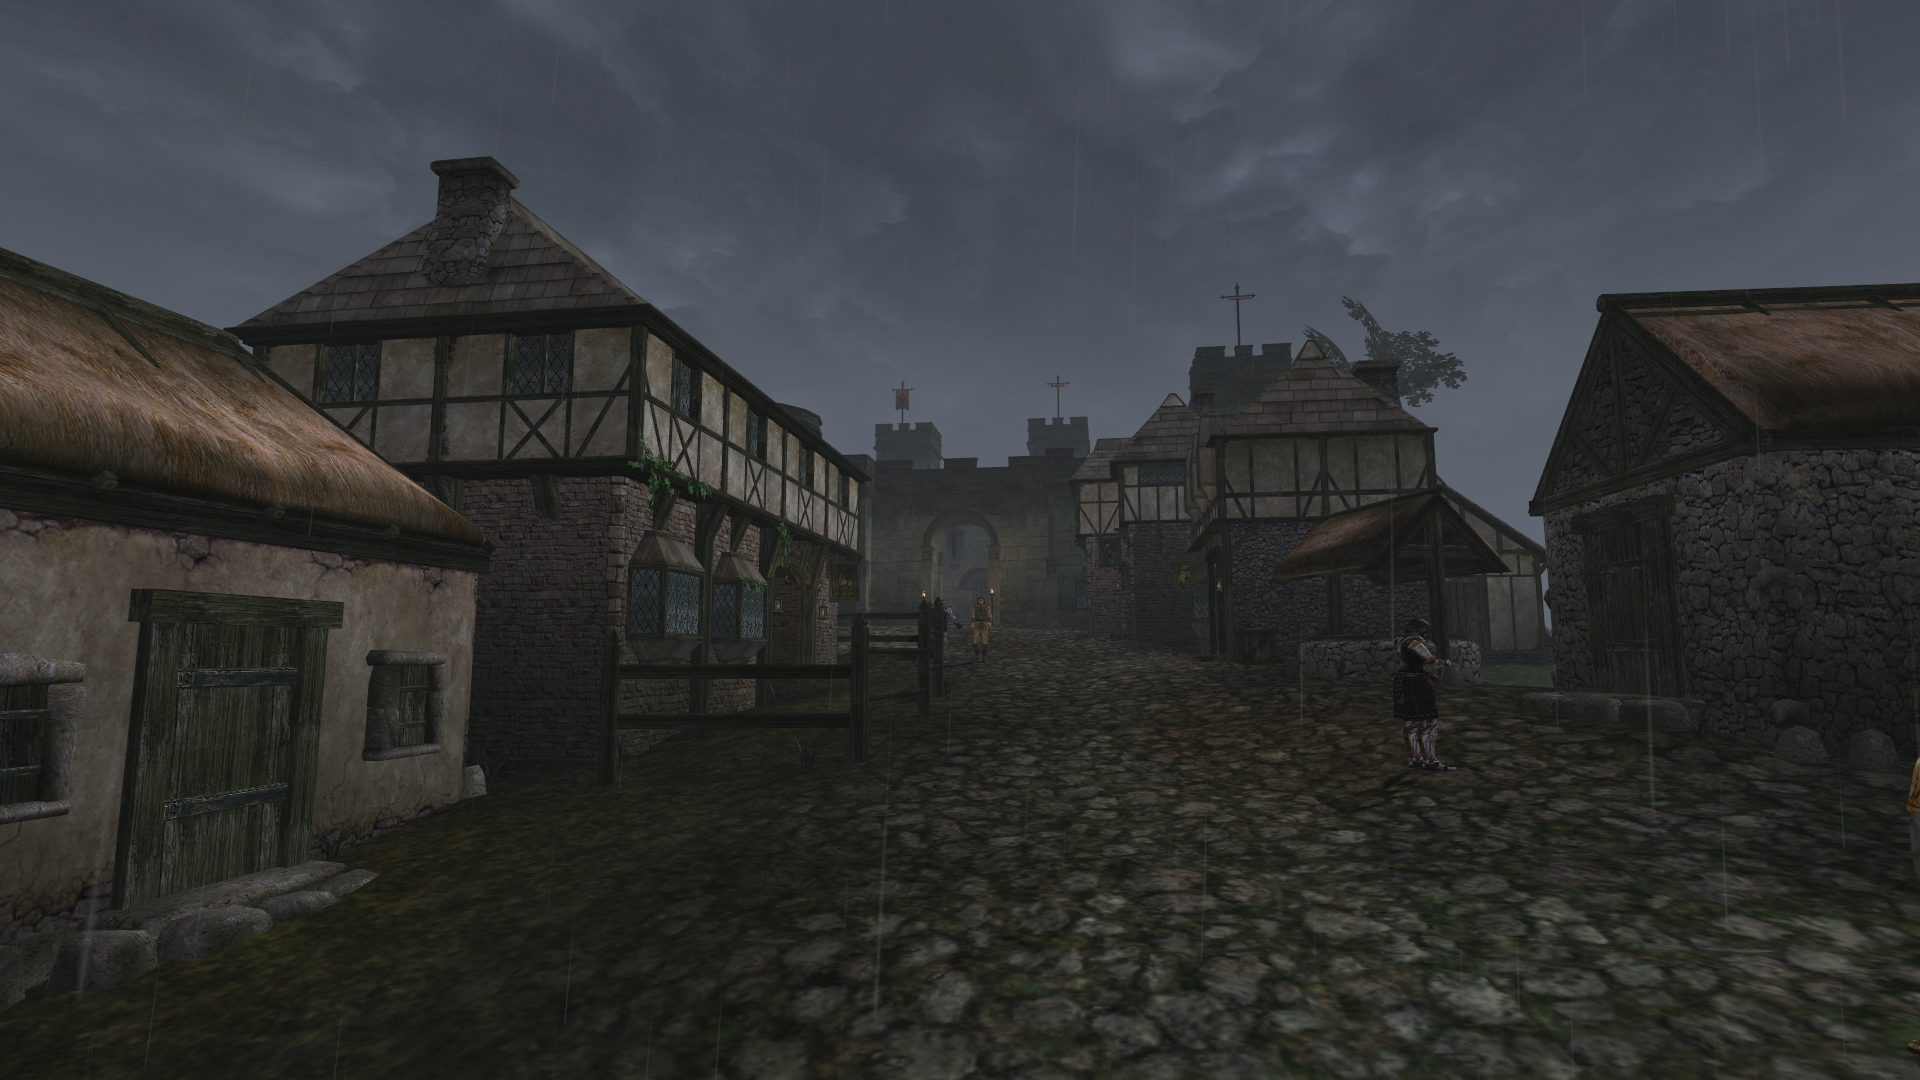
-
- Now with Mixed Textures.
-
- Fort Pelagiad with original textures…
-
- …and with Mixed Textures.

-
- A clear day in the Ascadian Isles.

-
- The Ascadian Isles region with Mixed Textures.

-
- Let’s head to Vivec!

-

- …wait, THIS Vivec.
-

- Vivec’s holy city with original textures…
-

- …and with Mixed Textures.
-
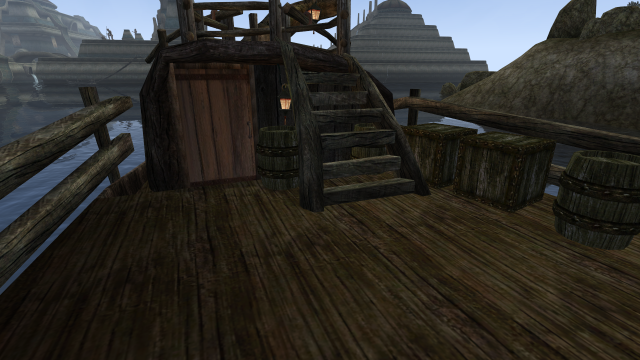
- Let’s go to Ebonheart!

-
- (On this rather nicer-looking boat.)

-

- The streets of Ebonheart…

-
- …with Mixed Textures.

-

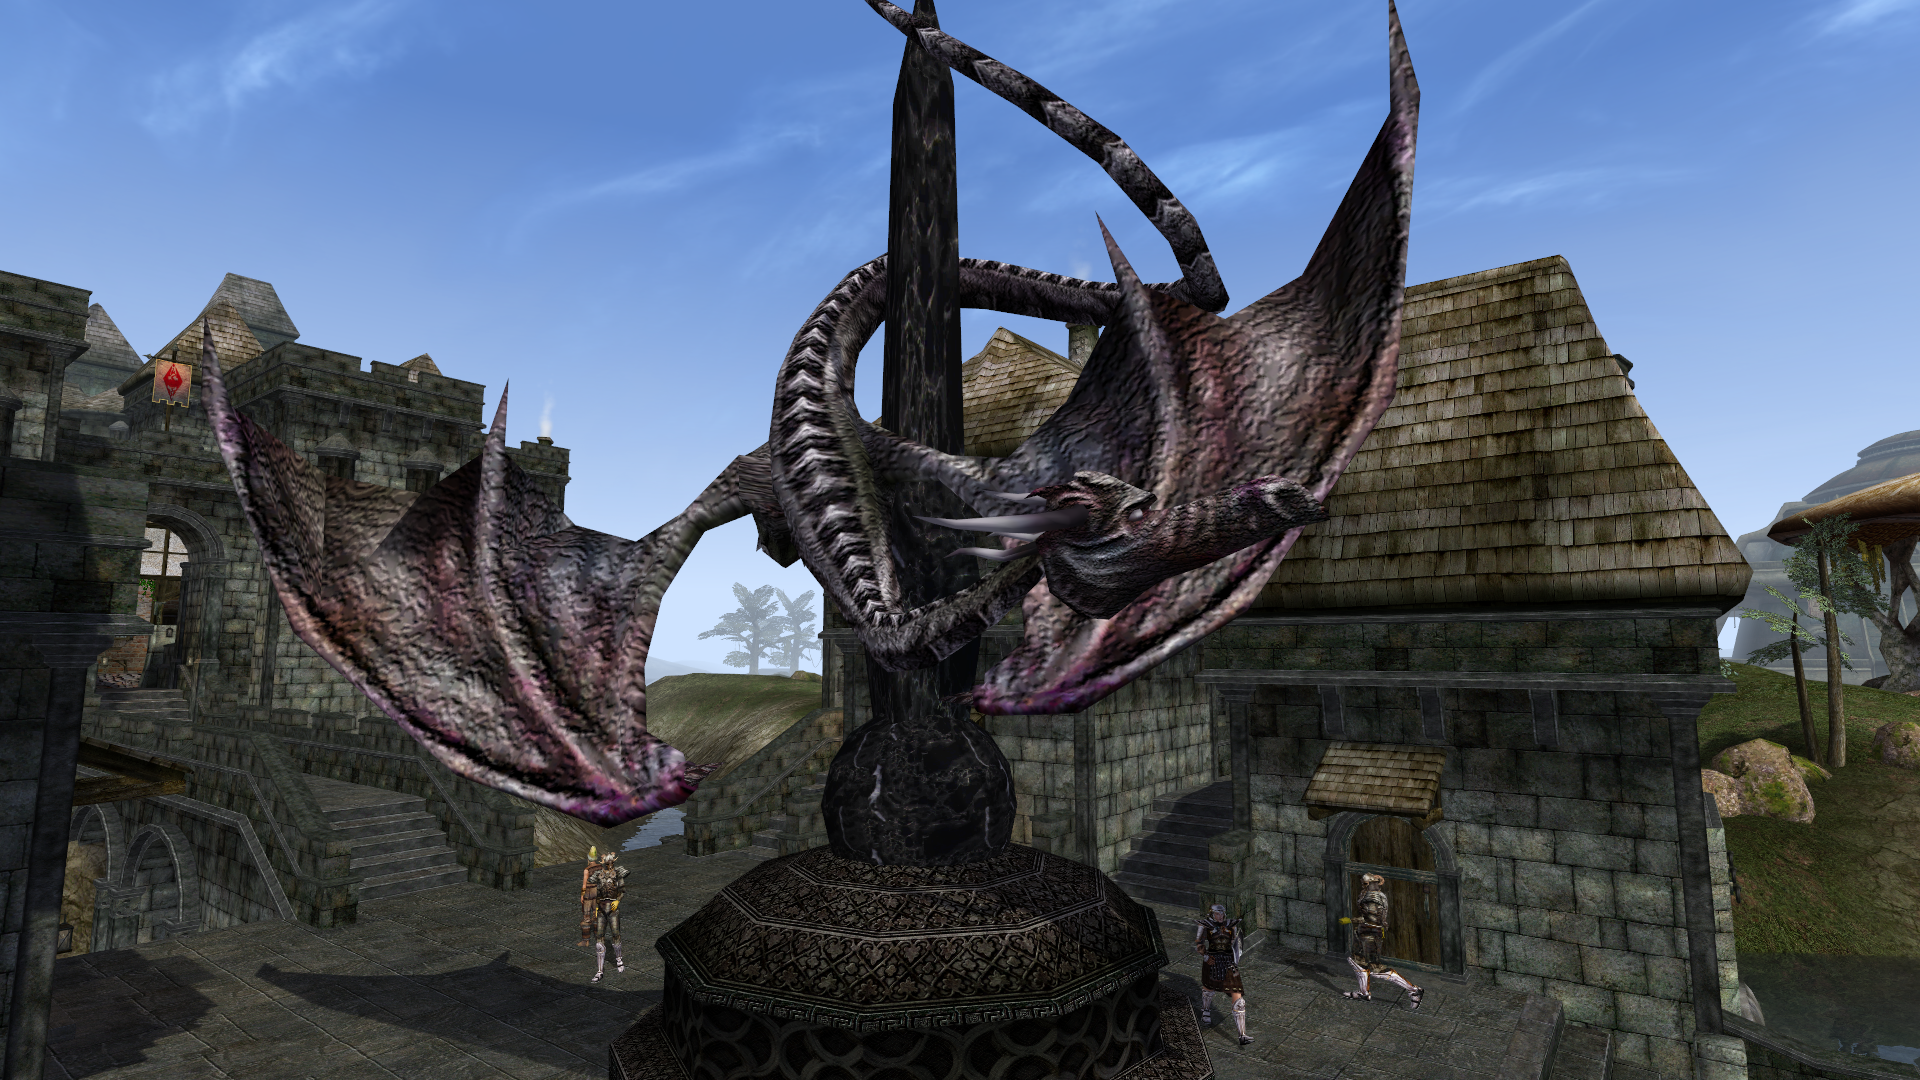
- Ebonheart’s dragon statue before…

-
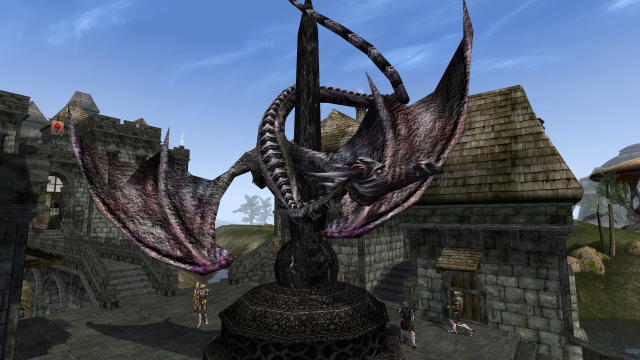
- …and after.
-
- Heading out to Azura’s Coast…

-
- …and with Mixed Textures.
-
- Exploring Azura’s Coast before…

-

- …and after.
While we’re going up the coast, let’s check out some Telvanni areas!
-
- The tower of Tel Fyr…

-

- …with Mixed Textures.

-

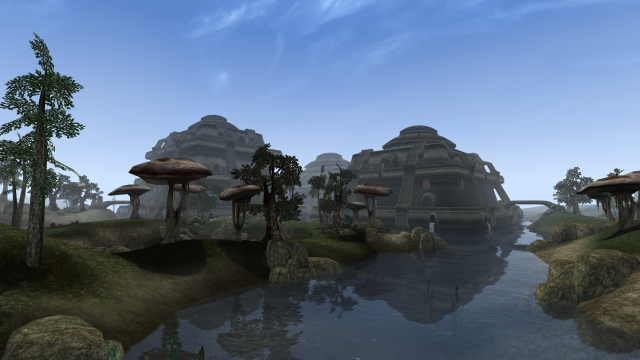
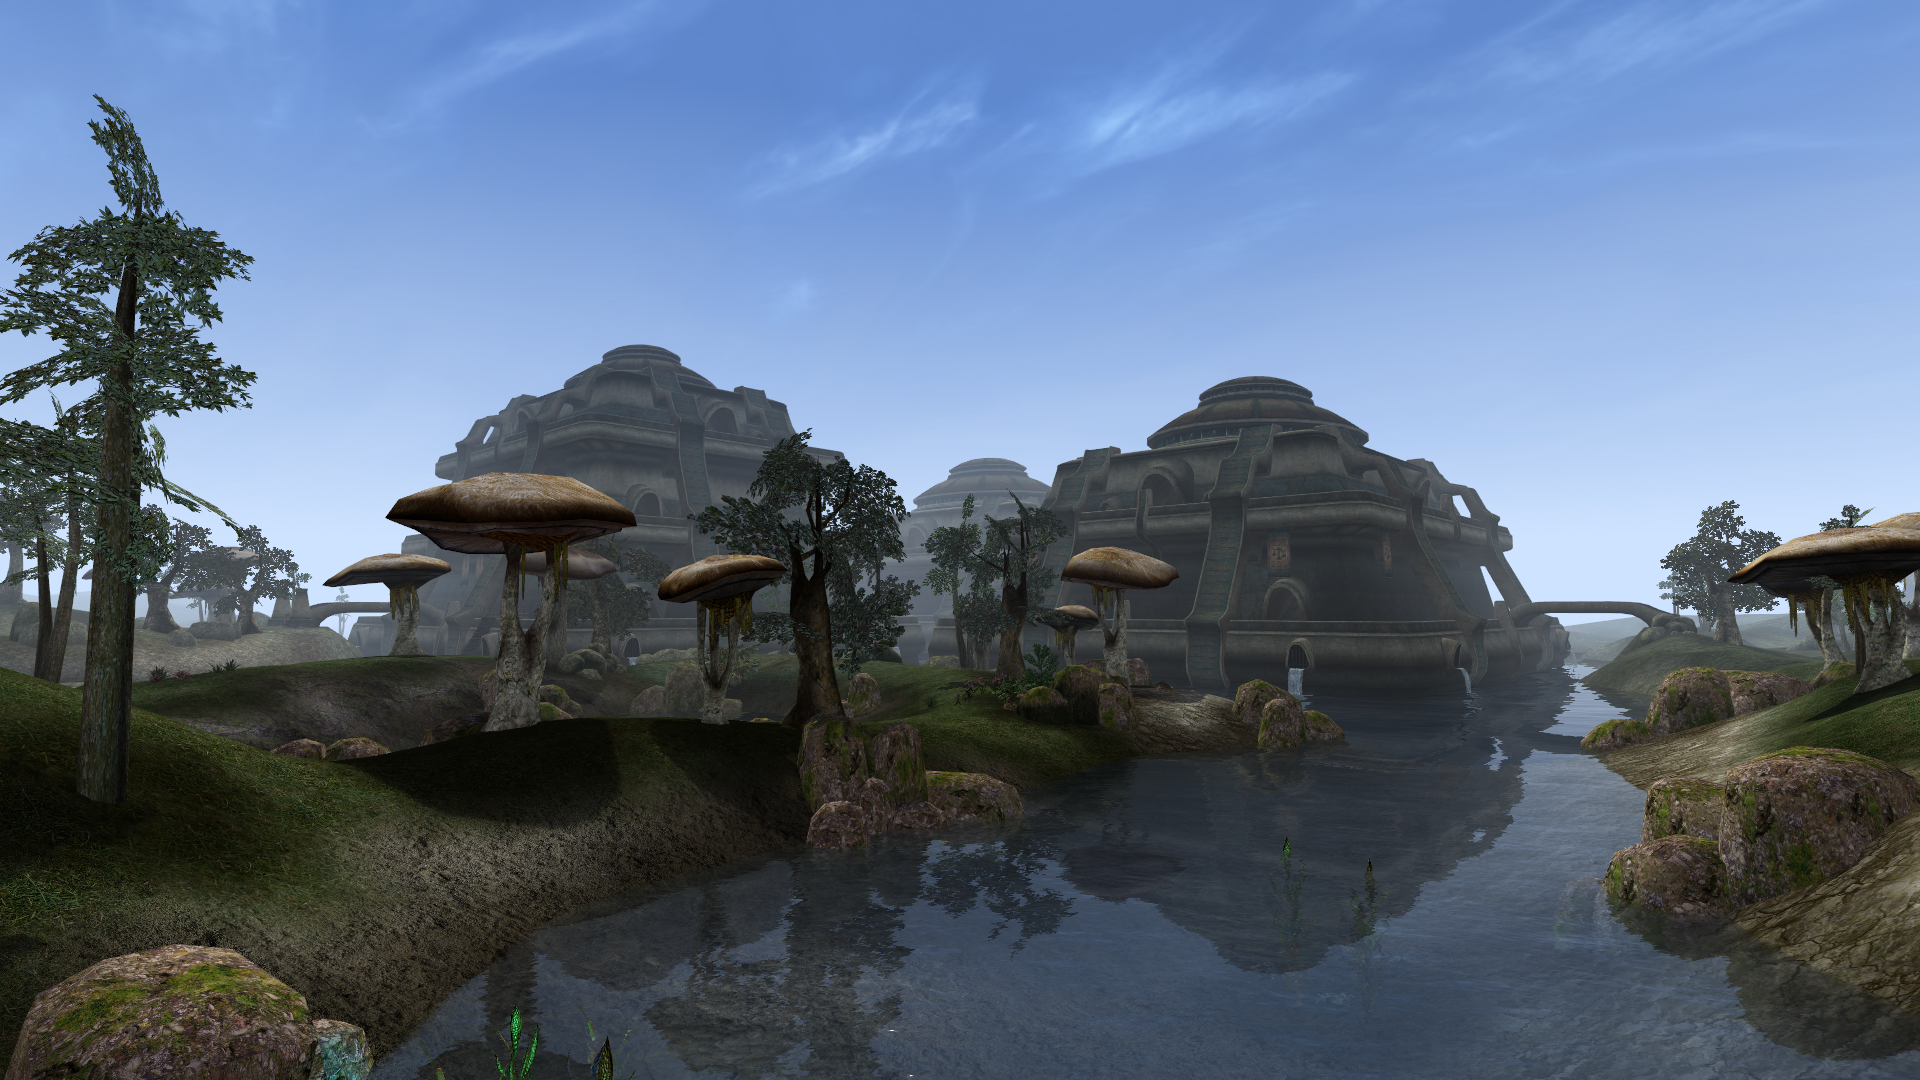
- Sadrith Mora, main Telvanni city on Vvardenfell.
-

- Sadrith Mora with Mixed Textures.
-
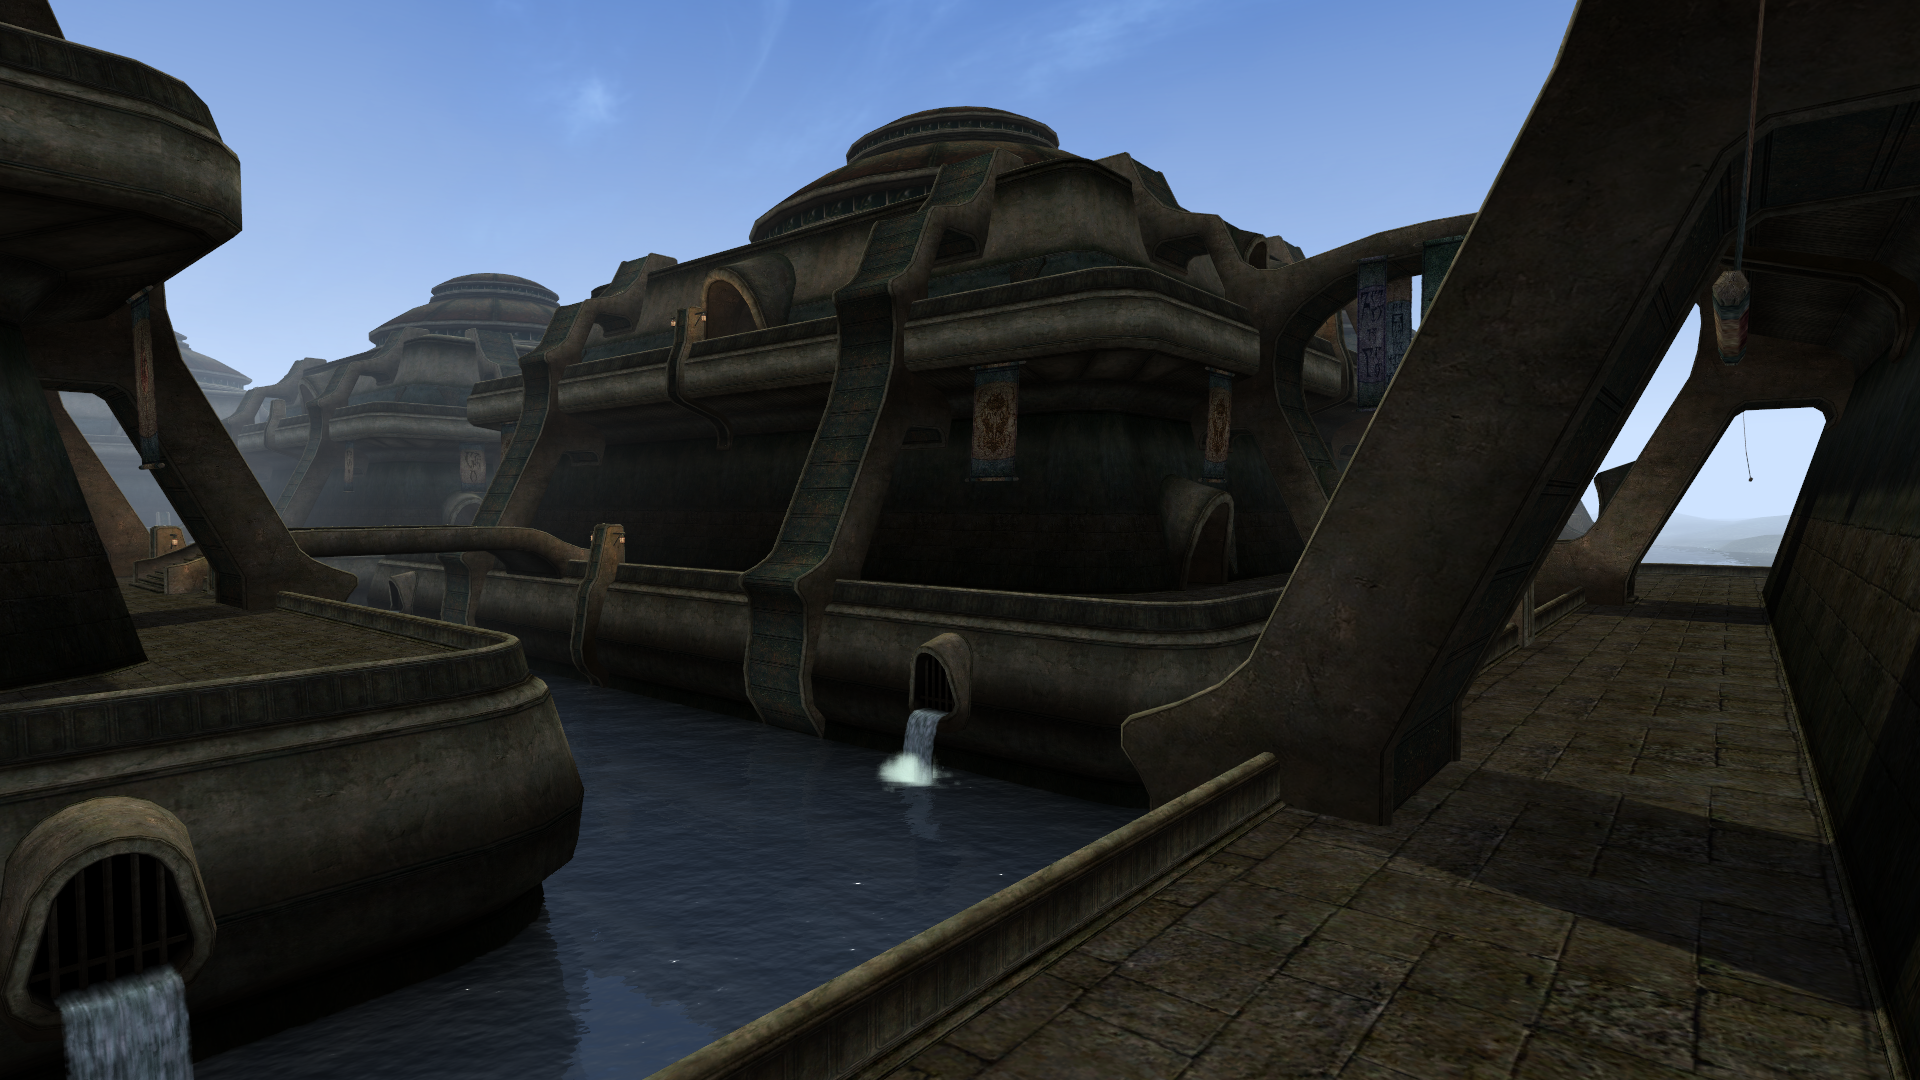
- These arches are everywhere.

-
- Telvanni towers need to look good as a show of power!

-
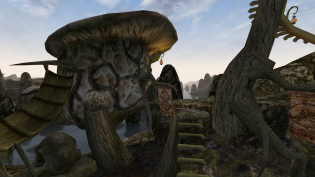
- A modest home in Tel Aruhn…

-

- …spruced up by Mixed Textures.
-
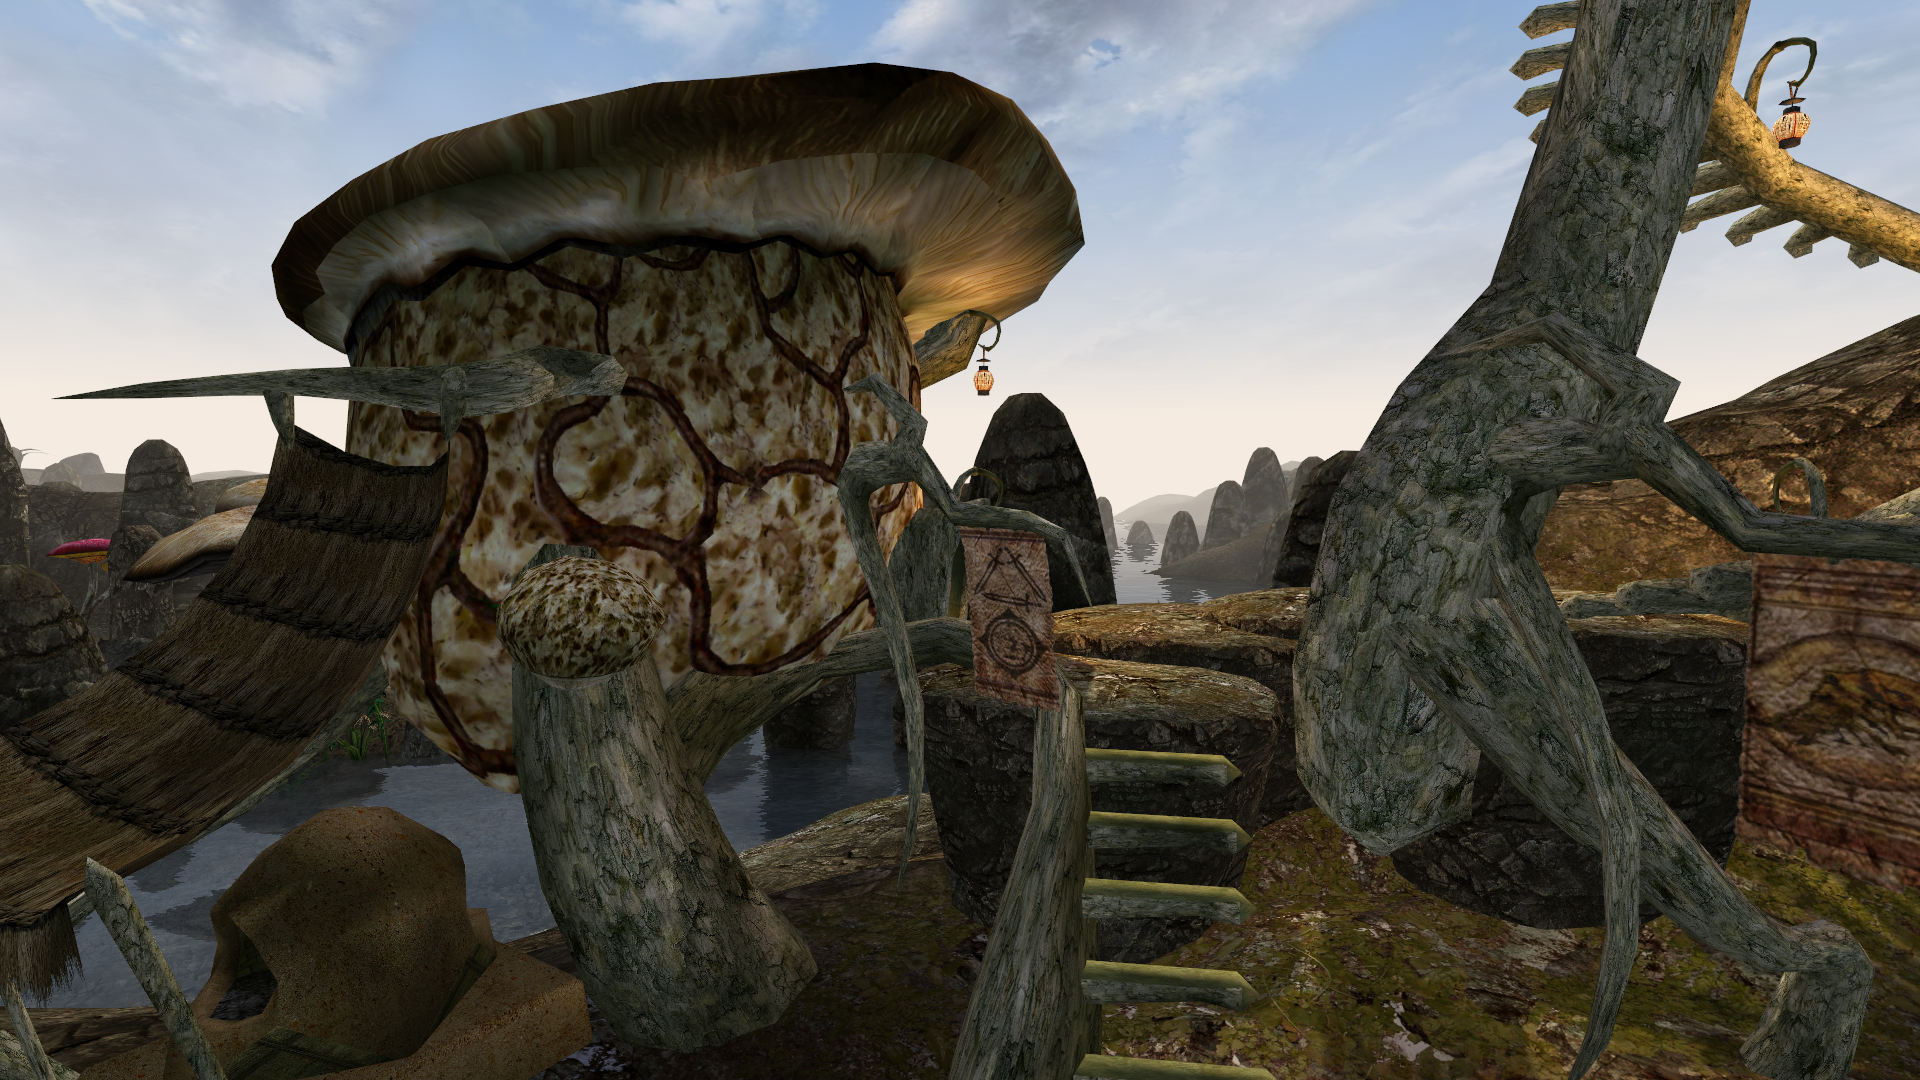
- The side of a fearsome Telvanni tower…
-
- …with Mixed Textures.

Like I mentioned earlier, there are more detailed landscape texture improvements we could add, but we’re going to save those for later and concentrate first on covering everything (buildings, land, trees, rocks, small items, books, monsters, and more).
High-resolution textures unfortunately have the side-effect of making seams in the landscape stand out, whereas they blended a lot more easily with the low-res textures. A landscape seam is a place where one texture stops and another begins, demarcated by a hard edge. Thankfully these are easy to get rid of. Download and install Slartibartfast’s Texture Fix, making sure to check it off in your Data Files when you launch the game.
The Basics: Meshes
Our next order of business is to improve some meshes. Morrowind is an old game, and there are a lot of sharp corners where modern models could give us nice, smooth curves (kind of like Better Bodies for various items), so new meshes will address that. Technically, we’re not just retexturing Morrowind, we’re reshaping it too. Get ready: you are going to be installing a lot of files, as we are coming up to the most complex part of this guide so far.
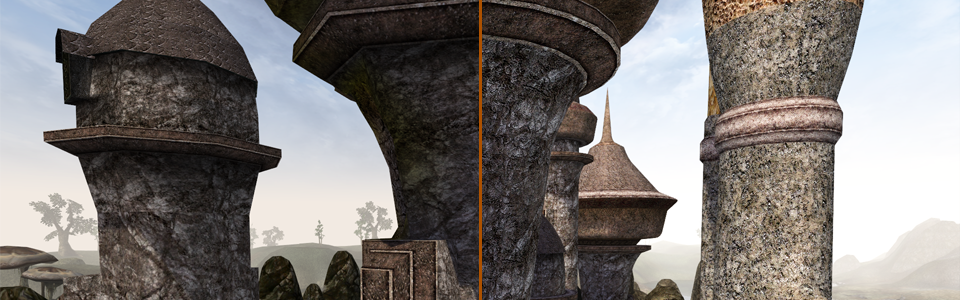
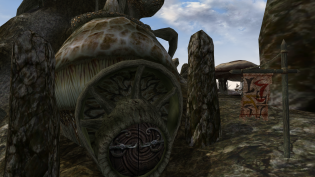
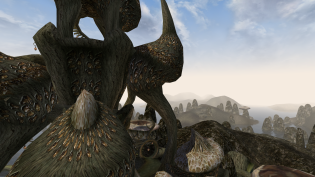
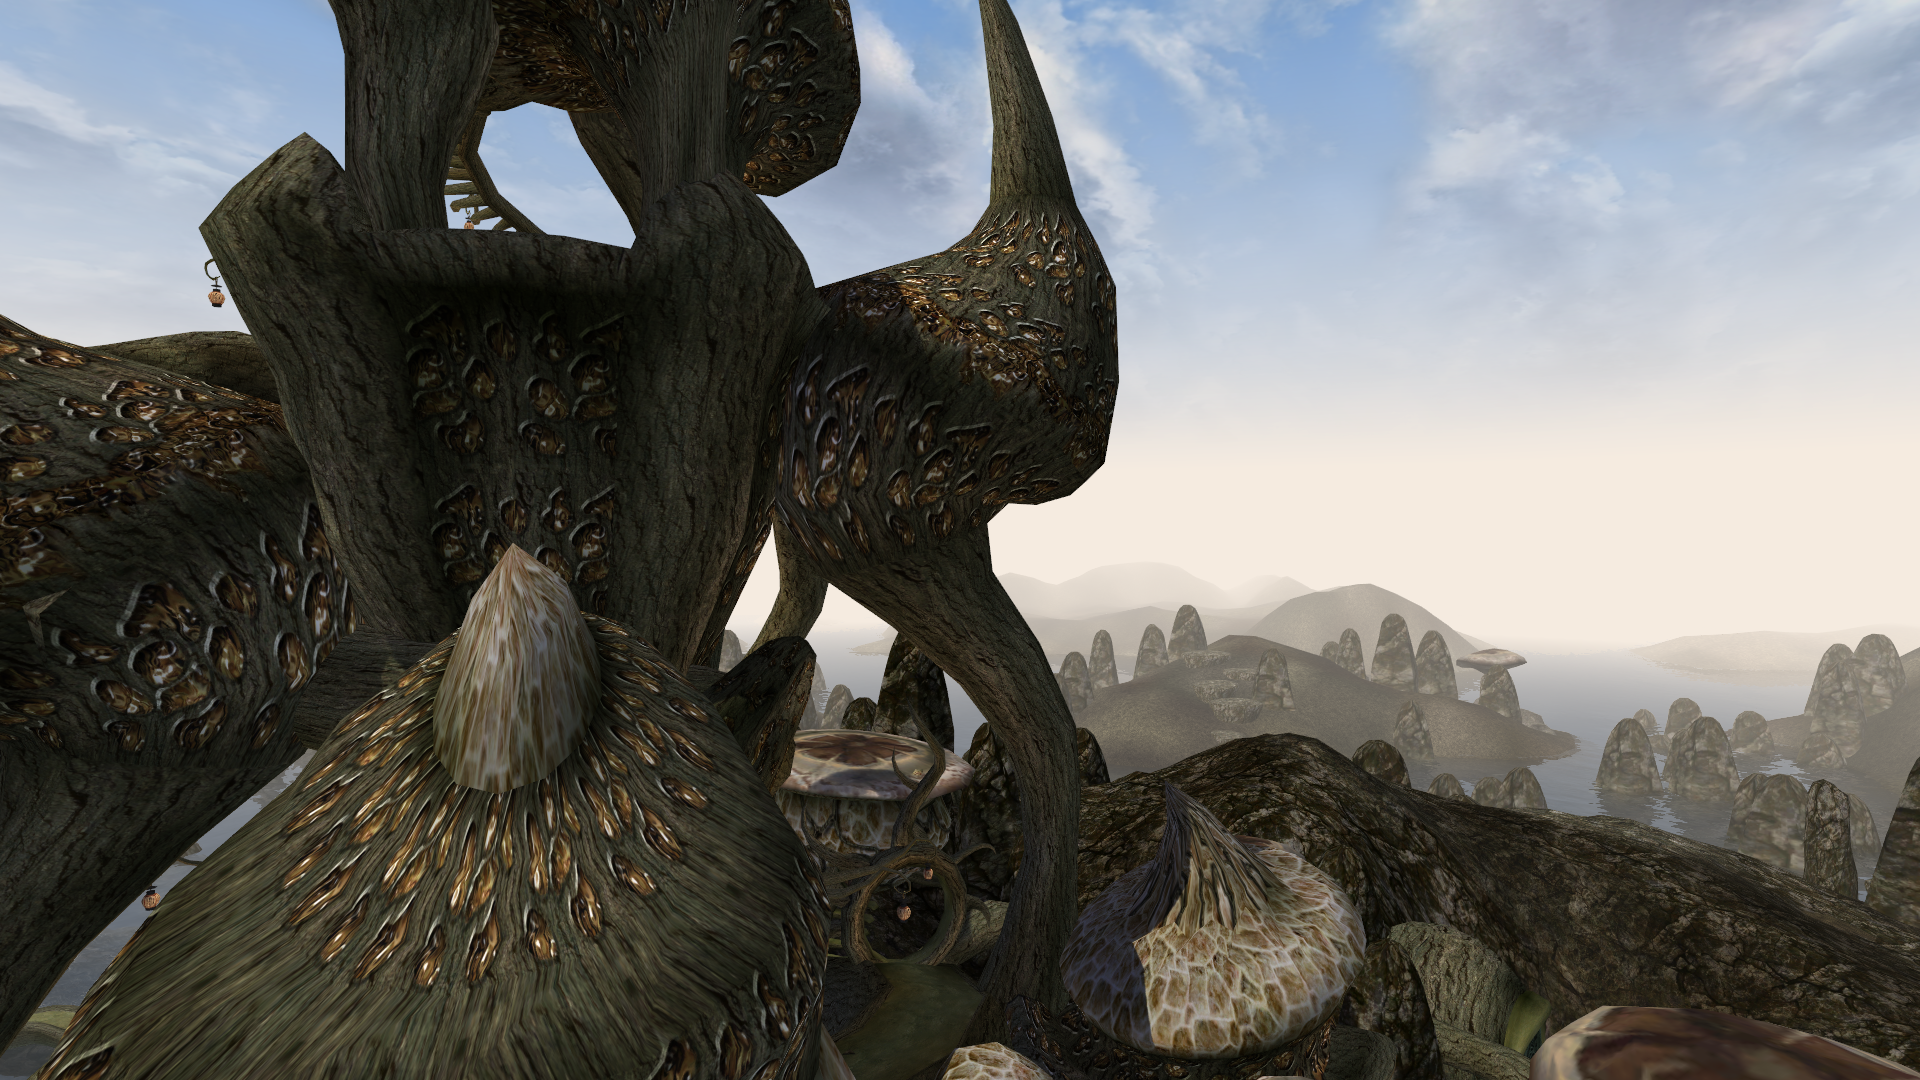
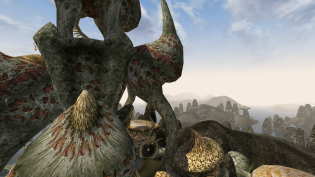
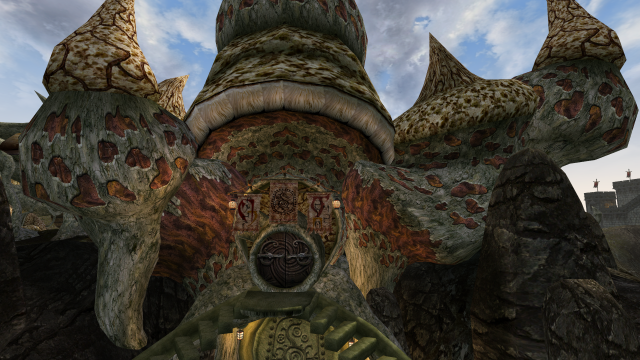
The most noticeably annoying blocky meshes are those things that are meant to be round, but aren’t. A perfect example of this is Telvanni architecture. I don’t know if you noticed in the above screenshots, but:
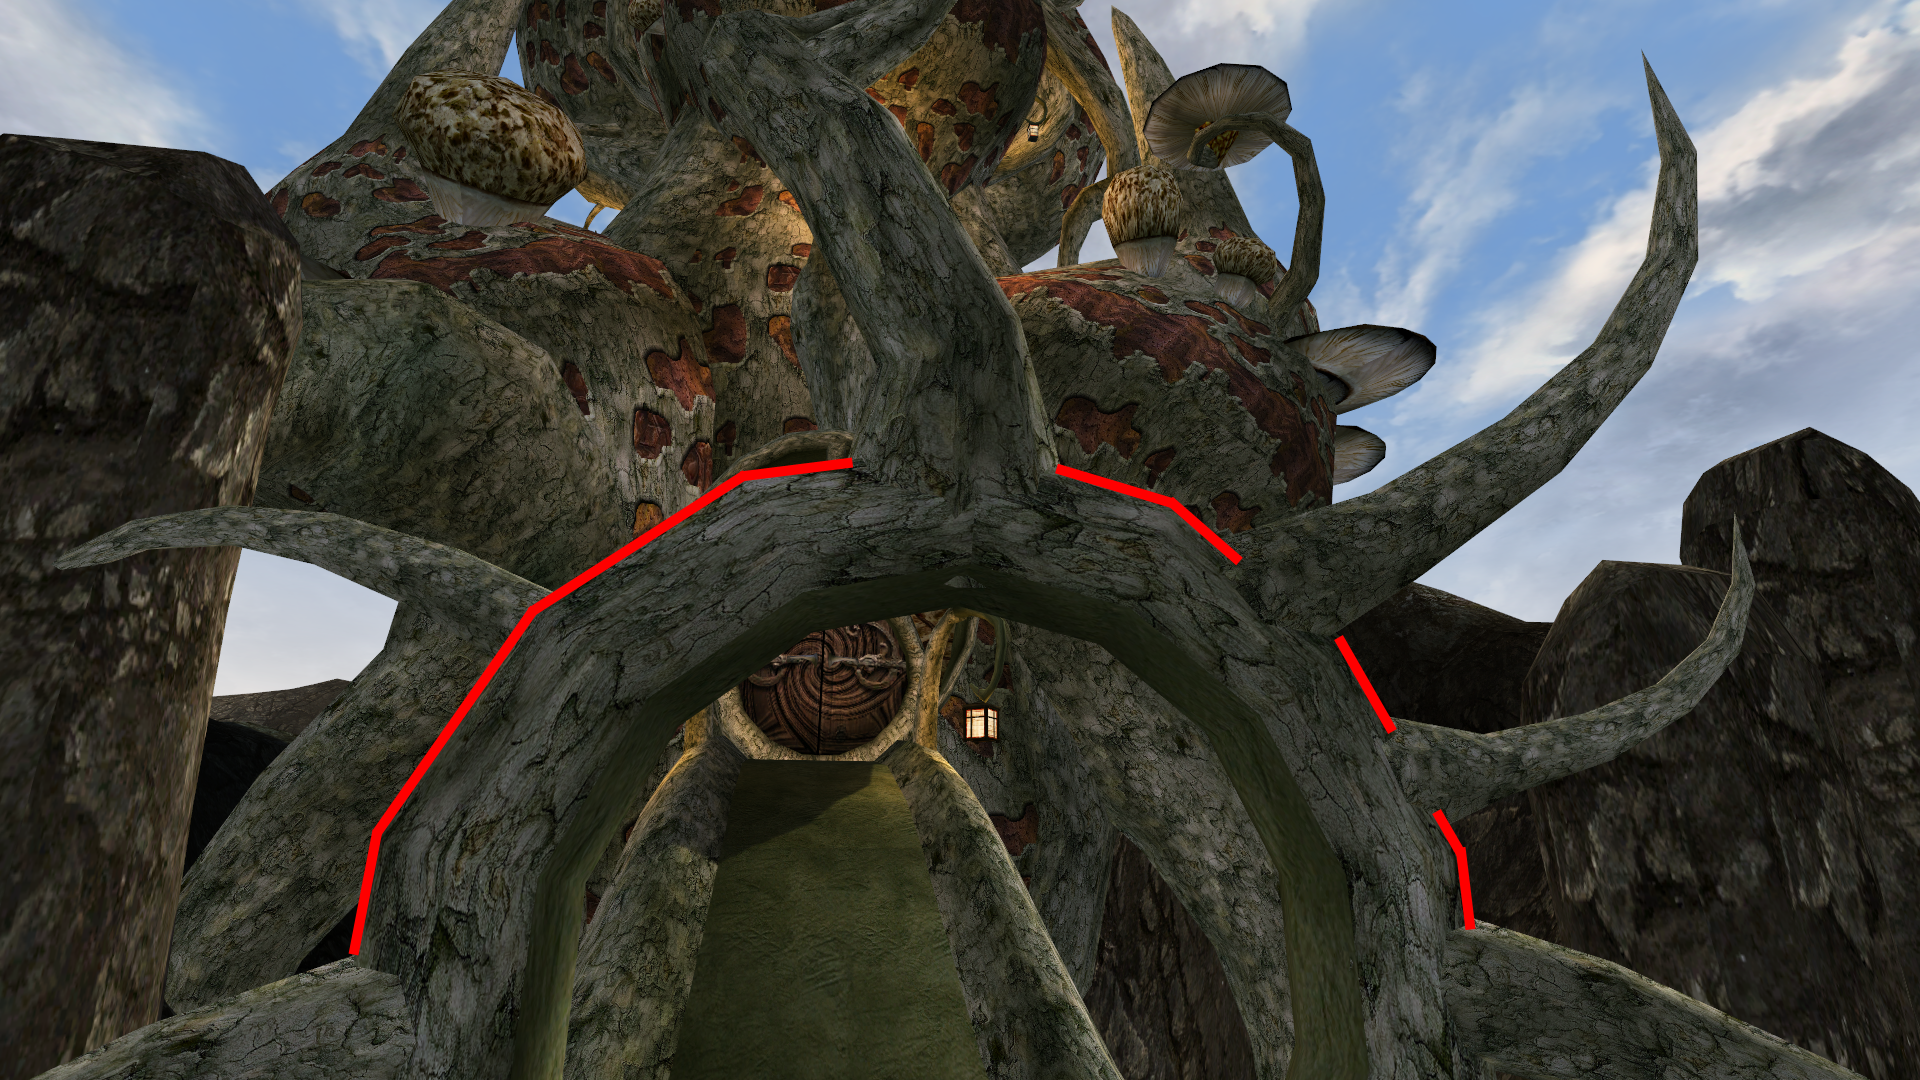
NOOOOOOOOO
Did you know that round things are supposed to be round? Well, once someone points it out to you, you won’t be able to unsee those unwanted flat sides. There are various other “round” objects in the game that may give you the impression that the Imperials like octagonal tables and the Dunmer prefer their iron cauldrons to have sharp corners, but don’t let it fool you: this is a limitation of old graphics that we are going to fix right now. Remember, stick to this order!
Various Mesh Fixes and Upgrades
First, download Mesh Fix (also by Slartibartfast) and install only its Meshes folder (ignore its Textures), by dragging it into your Data Files folder and overwriting when prompted (ignore the “Compatibility fixes” folder). Follow it up with Qarl’s Misc Items Replacer (the download includes his bottles and flasks as well) but do not allow it to overwrite any textures.
Next, install Mesh Improvements by Armed_Defender (including the “Optional” and “Tribunal Addon” folders— “Optional” has its own Meshes folder you can simply drop into Morrowind\Data Files, but the “Tribunal Addon” folder’s contents have to be dropped directly into Morrowind\Data Files\Meshes), and then Better Meshes plus Optimization by Tarius, including its textures as well. Allow overwrites each time (and as I mentioned before, we’re not using the “Compatibility fixes” from Mesh Fix right now). Tarius also made Better Kegstands which you should also install (allow all overwrites.) Now add Stuporstar’s Mesh Improvements Optimized by merging its entire Textures and Meshes folders with your own.
We have one more to install for this step: Correct Meshes by ZWolol, and you will have to pay close attention because we’re not using all of it. Unzip it and you’ll see two folders called “Data Files” and “Other” respectively, along with a Readme (in Russian). Drag that Data Files folder to your Morrowind folder and let it merge, but do not allow it to overwrite anything except “Ex_Common_Plat_Corn.nif.”
What we have just done is provided a kind of blanket fix for various mesh problems throughout the game. Mesh Fix specifically corrects technical errors such as (in non-technical terms) meshes that “connect” to their textures wrong, causing the textures to appear the wrong size ingame, so they’re either stretched incorrectly all over the object (imagine a pillowcase with a design on it, then put that pillowcase on a pillow that is way too small, then fold the excess pillowcase underneath— you’ll have a pillow that is still obviously a pillow, and might even look nice, but the design is not showing up as intended) or alternatively, the texture is showing up smaller than it should, so instead of neatly covering the object, it repeats (“tiles”) all over it. The subsequent addons do this as well as also smoothing out sharp corners and overall providing higher-quality versions of items. Qarl’s Misc Items Replacer also makes some of the bottles transparent as well as giving a more unique look to certain small artifacts.
Architecture-Focused Meshes
Now, let’s work on some architecture (you knew I was going to get back to that “round” Telvanni vine up there, didn’t you?) Download Telvanni Exterior UV Fix by Plangkye but while installing, do not allow it to overwrite (it has a slight conflict with Mesh Fix). Next install Telvanni Mesh Improvement and Dwemer Mesh Improvement by Champion of Hircine. The latter has some overlap with Armed_Defender’s optional Dwemer files that we installed earlier, but it’s best to allow it to overwrite. Now install Telvanni Fireplace Replacer by Melchior Dahrk (it’s up to you as to whether you use the regular one or “Alternate,” but the regular is closer to vanilla).
Now, download Improved Imperial Fort UVs by SGMonkey and both of Pherim’s fixes which are here and here. Install them in that order, as you need Pherim’s fixes to overwrite. The file from the first fix (in_impsmall_doorjam_01.nif) belongs in meshes\i, and the ones from the second fix belong in meshes\x.
Next would be HD Architecture Meshes by Colt17, which covers Redoran-style buildings. Make sure you download the main file which is linked at the bottom. Also pick one of the Skar editions (not both), choosing the 2048 version if you have a slower computer, and also the Holamayan file (ignore the Windows Glow patch for now). Now, while the first two of these files are structured the way we’re used to, Holamayan comes with a .bsa file which contains all its graphical resources. Put this in Data Files along with the .esp, and then open up Morrowind.ini in your main Morrowind directory, and find this section:
[Archives]
Archive 0=Tribunal.bsa
Archive 1=Bloodmoon.bsa
Add a line reading “Archive 2=Holamayan.bsa” so it reads:
[Archives]
Archive 0=Tribunal.bsa
Archive 1=Bloodmoon.bsa
Archive 2=Holamayan.bsa
This is how you register .bsa files, should it become necessary again (and it probably will). Don’t forget to check off the .esp in Data Files!
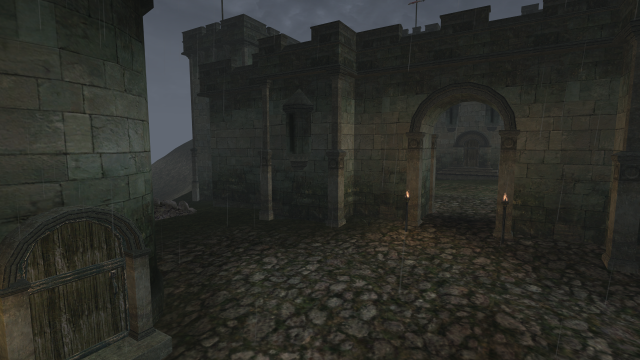
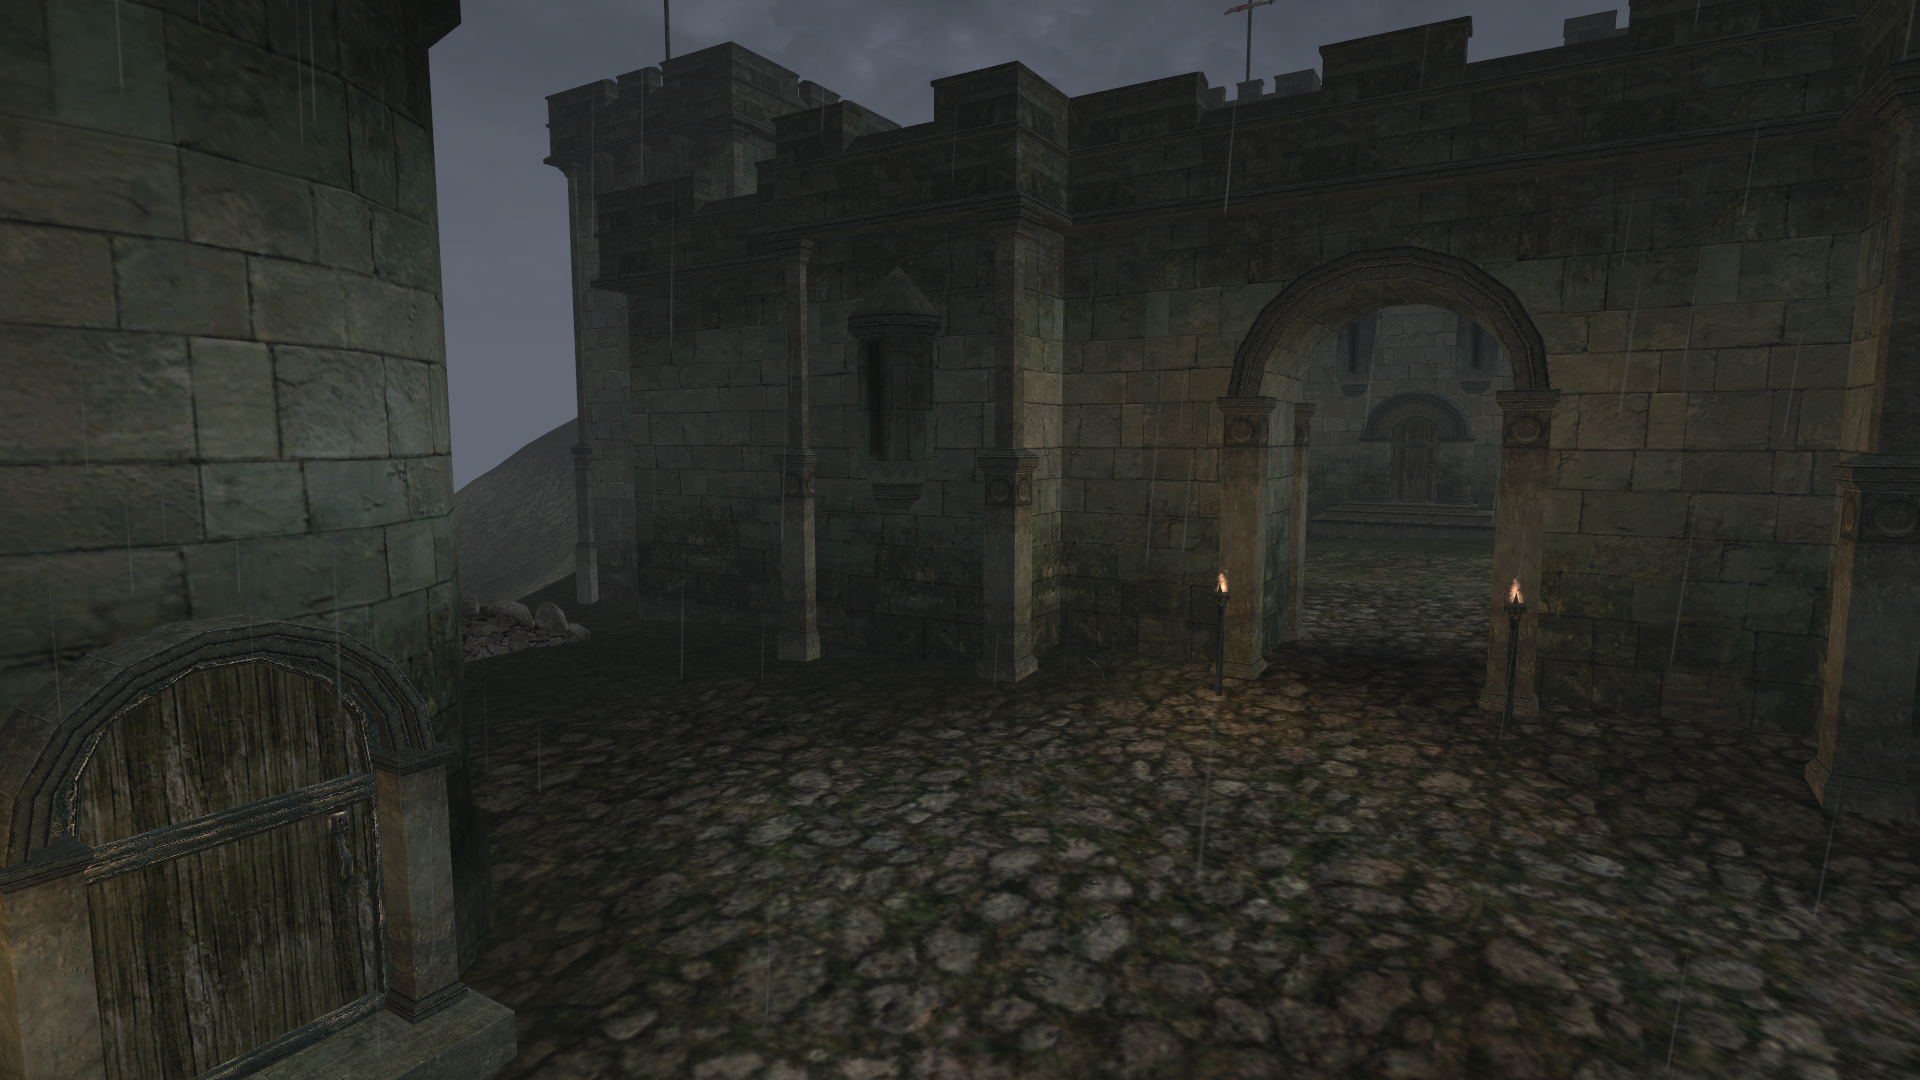
Alright, I think it’s time for a few more screenshots. Note: the ones on the right are a little lighter because I left my shaders on, but the important thing is to compare the shapes of the buildings. You’ll have to look closely.
-

- Ald-ruhn with original meshes…

-

- …and new ones.
-

- Another shot of Ald-ruhn…
-
- …much improved.

-
- Sadrith Mora with Mixed Textures.
-
- A massive improvement!

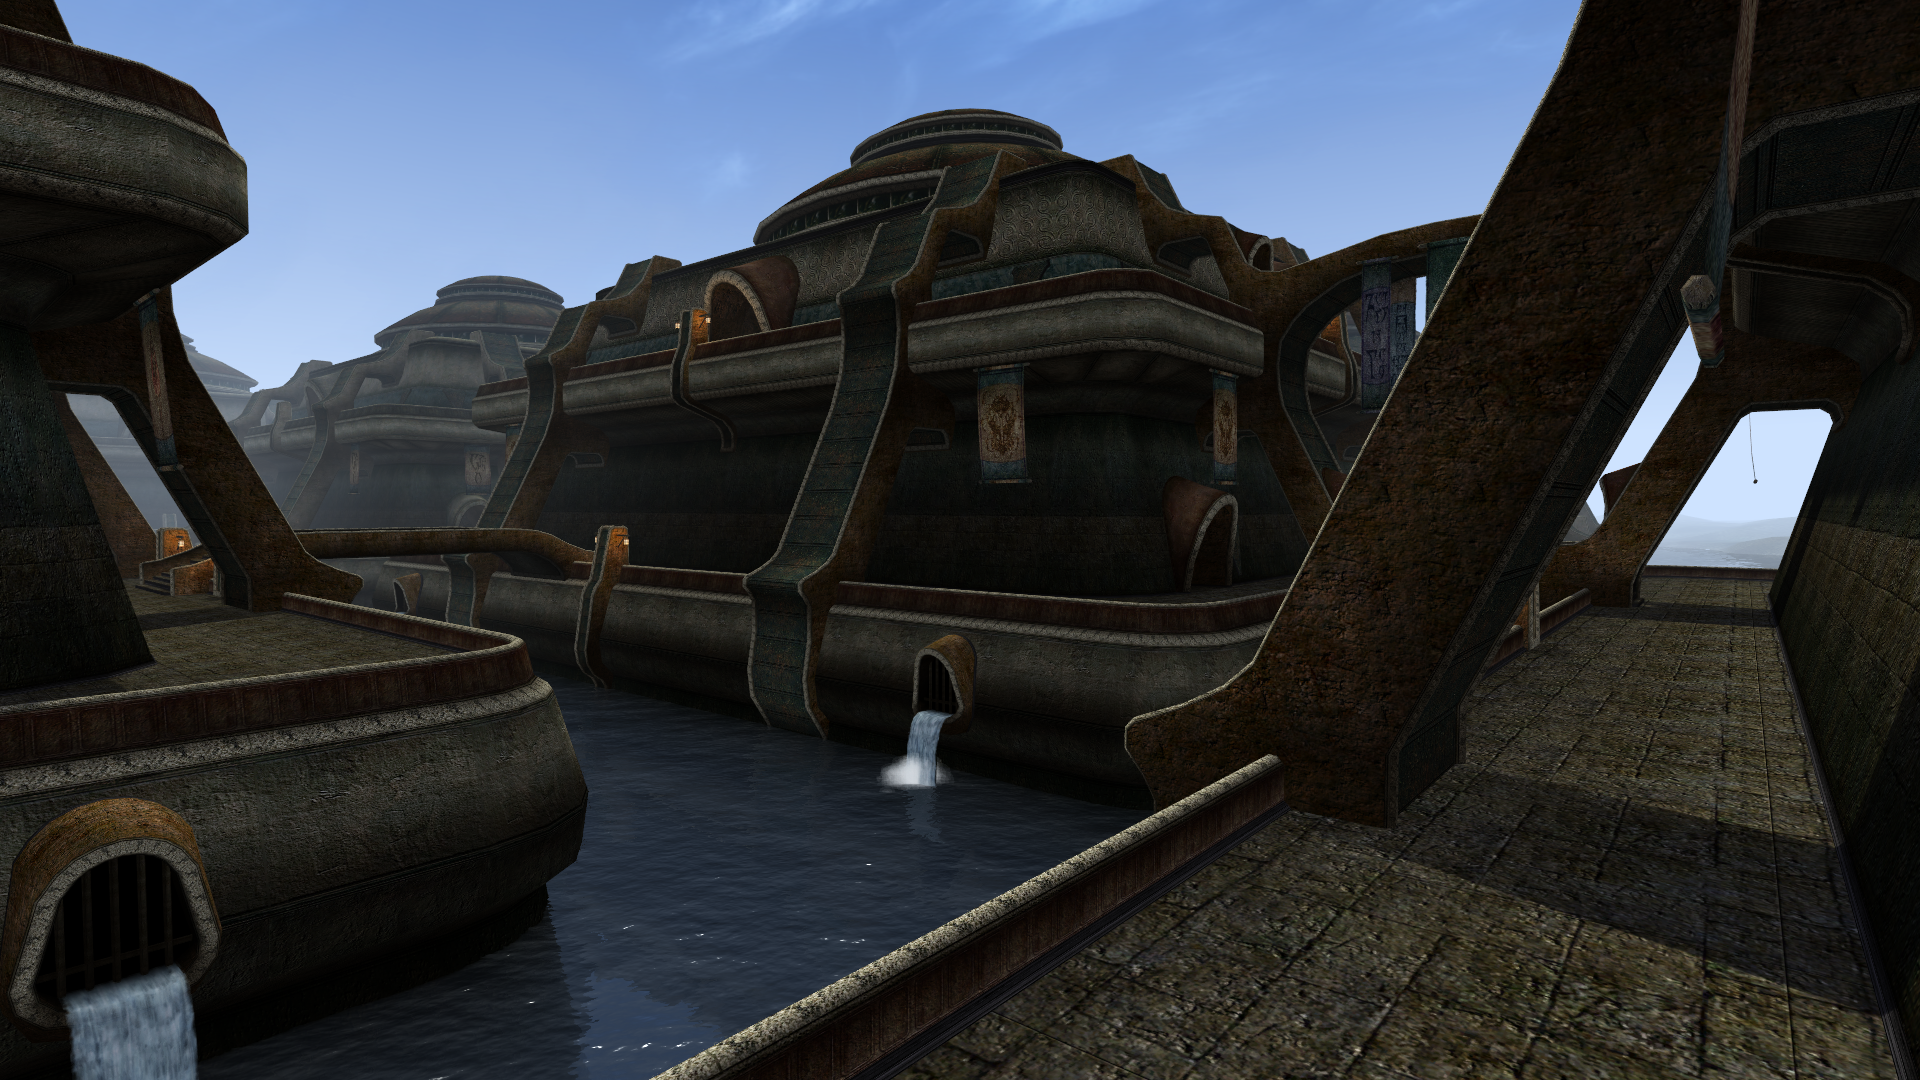
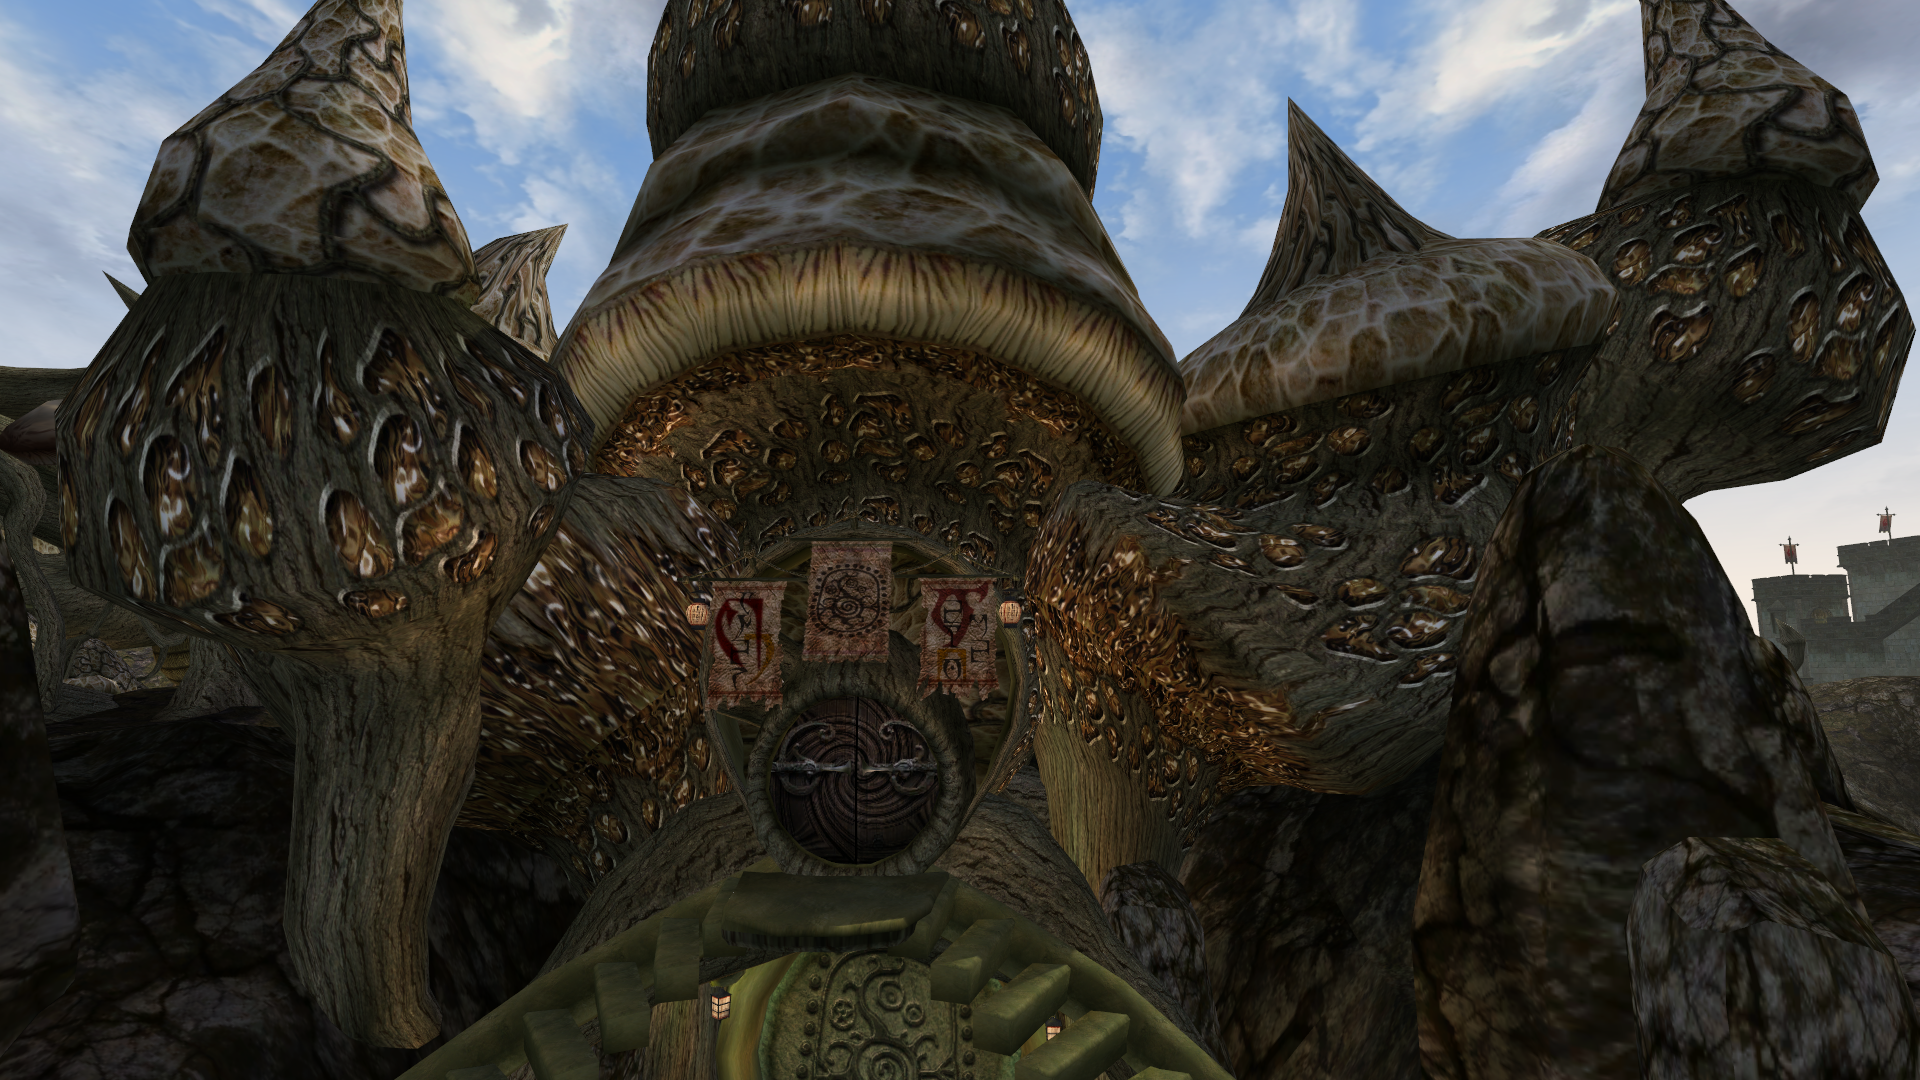
And now, finally, that so-called “round” arch:
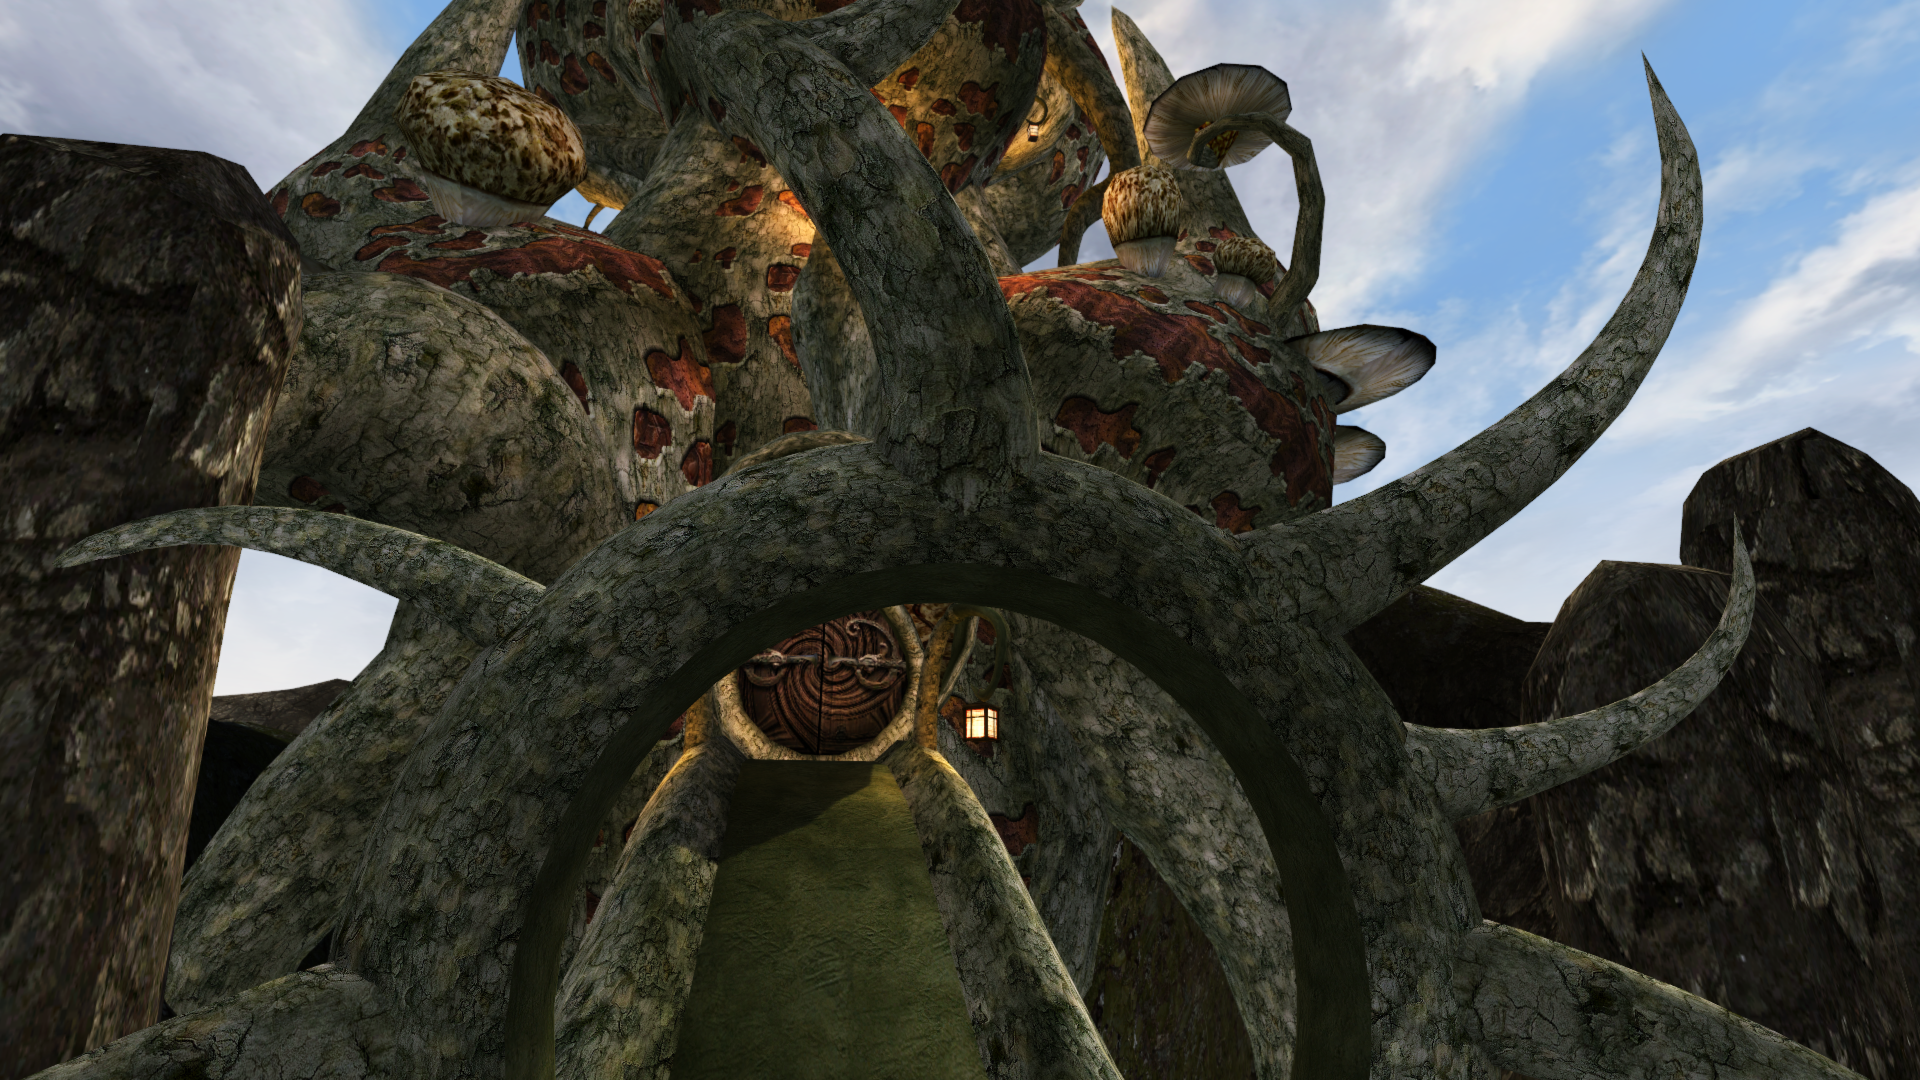
YAY
We still have to fix a few things in the world that just aren’t right. Install Poorly-Placed Object Fix by Slartibartfast (you only need to move “Poorly Placed Object Fix 1.2.esm” and the included meshes folder to your Data Files; you can safely ignore the individual fixes) to which you will then need to add a couple of patches by Spirithawke. Specifically, you need to download the wall tile from Edit 4, the patch from Edit 5, and the fixed rock from Edit 6, all found in the linked forum post. This will provide you with 2 meshes folders and an .esp file, all of which you should add to your Data Files. Remember to check the .esm and .esp in the launcher. If you cannot activate the .esp, check the name of the .esm file for an extra space after the word “Fix” and delete that extra space from the filename.
Next, install Correct UV Rocks (it will want to replace one mesh from Mesh Fix— allow it to overwrite) and Correct UV Trees by Nich, and then Slartibartfast’s Cave Texture Fix. Basically, these mods make sure the textures apply correctly to the rocks, trees, pond scum, etc the same way our earlier fixes did for other objects (we will revisit trees and rocks in our advanced upgrades later).
There is one final landmass change we need to make to really “fix” everything, and that is Slartibartfast’s Bloodmoon Texture Fix. He has a more advanced Bloodmoon Landscape Overhaul, but for now we’re sticking with the most basic addons possible. We’ll pay more attention to the Solstheim landscape in a later entry, but this is the bare minimum you need.
Take a Much-Needed Break
Now that I’ve had you download and install about 100 things, it’s a good time to load up Morrowind and just play a bit. Enjoy the game, look at the prettier scenery, and see if you have any blatant issues. Before you go and play, if you’ve already generated Distant Land with MGE, regenerate it so it will use the new models, otherwise you’ll get a weird effect as things transition into your Morrowind view distance (if you haven’t generated Distant Land yet, don’t worry about it, we’re going to do it later). We’ve given a slight upgrade to almost everything in the game, but there is so much more we could do. We’re not done retexturing our architecture, for one, and brand new trees, rocks, ice, water, and monsters await us. So does animated grass and foliage that blows in the wind.
When you’re ready, continue to Part 11 and start finalizing our world textures!

7 pings
Skip to comment form ↓